Movements
In this section, we will explore the various features and functionalities related to managing movements within the application.
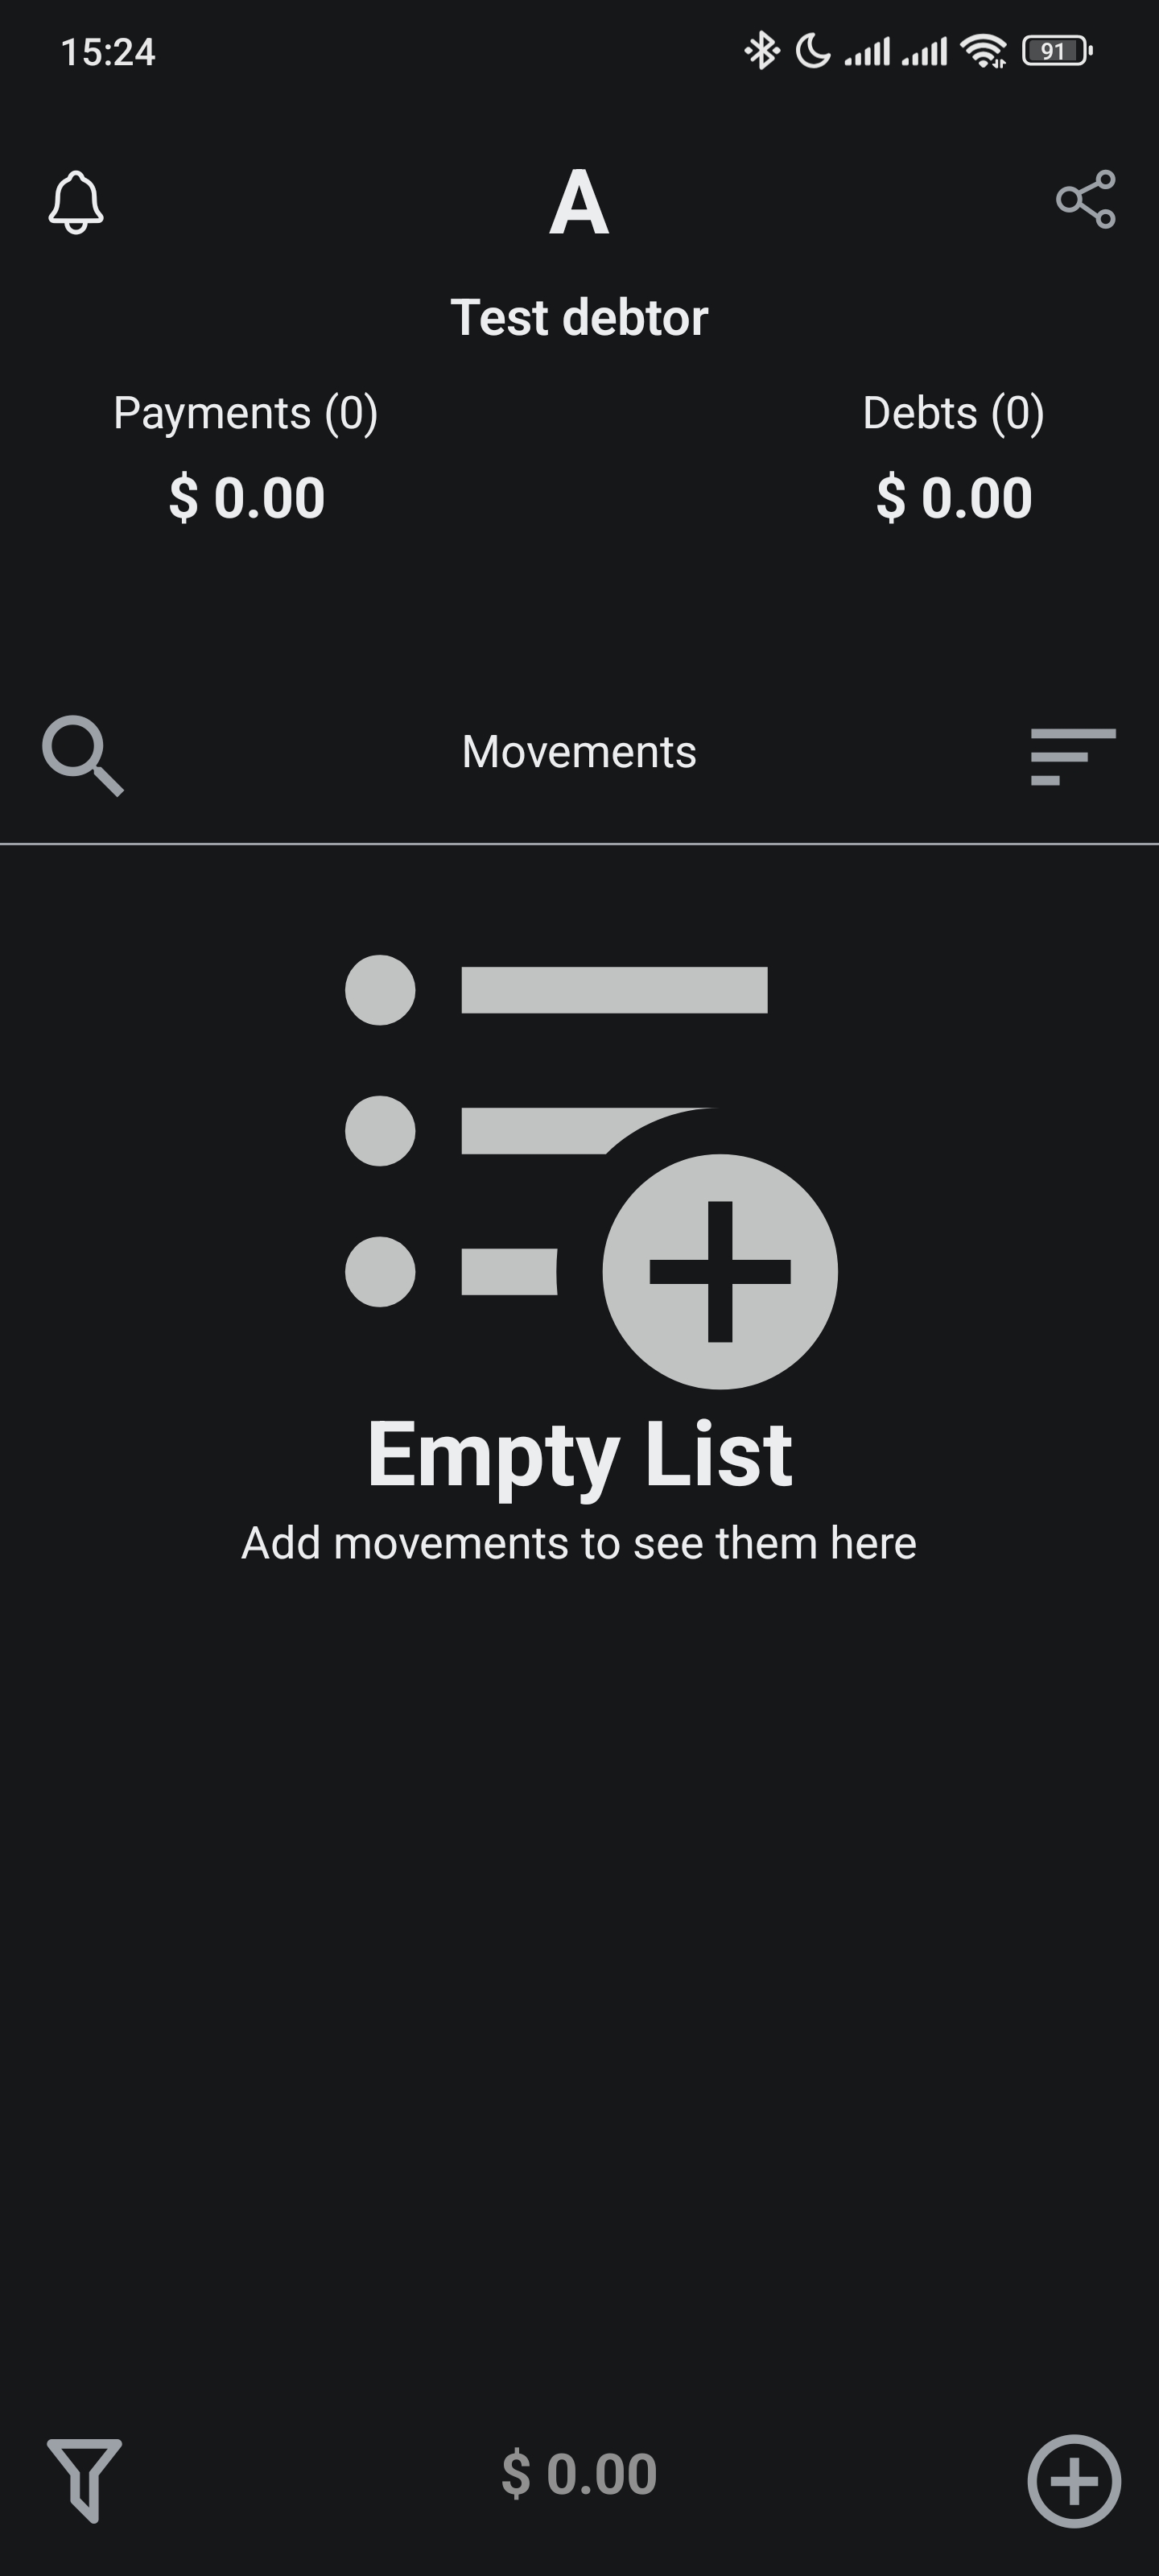
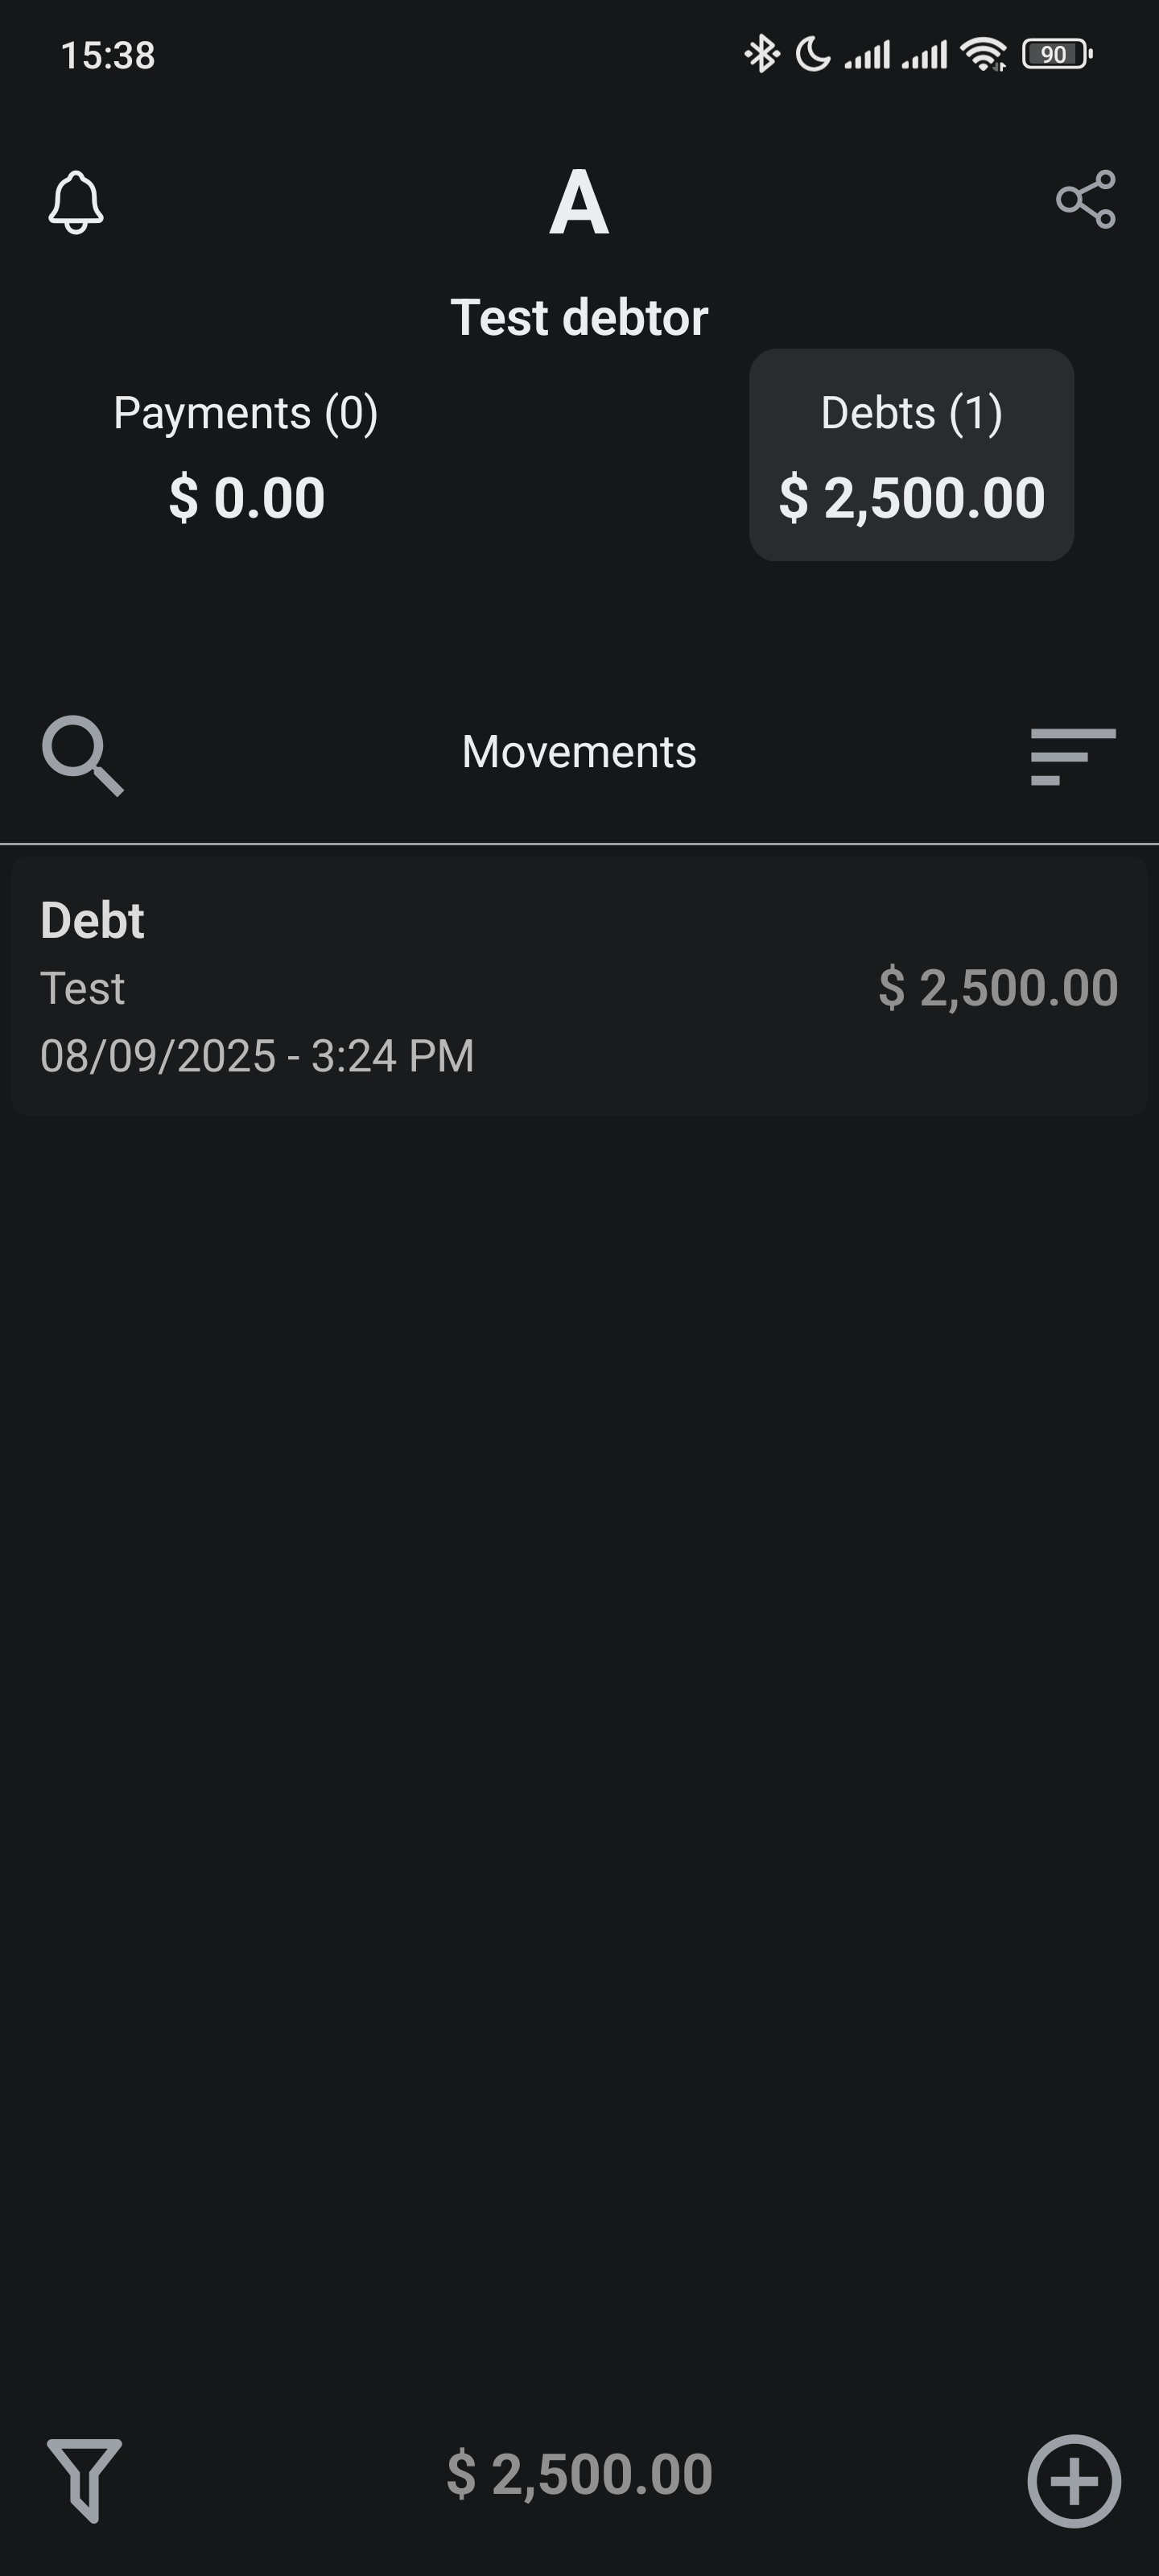
Movements refer to the individual transactions or entries that represent debts or payments associated with debtors.
Creating a Movement
To create a movement, tap the plus icon from the movements screen:
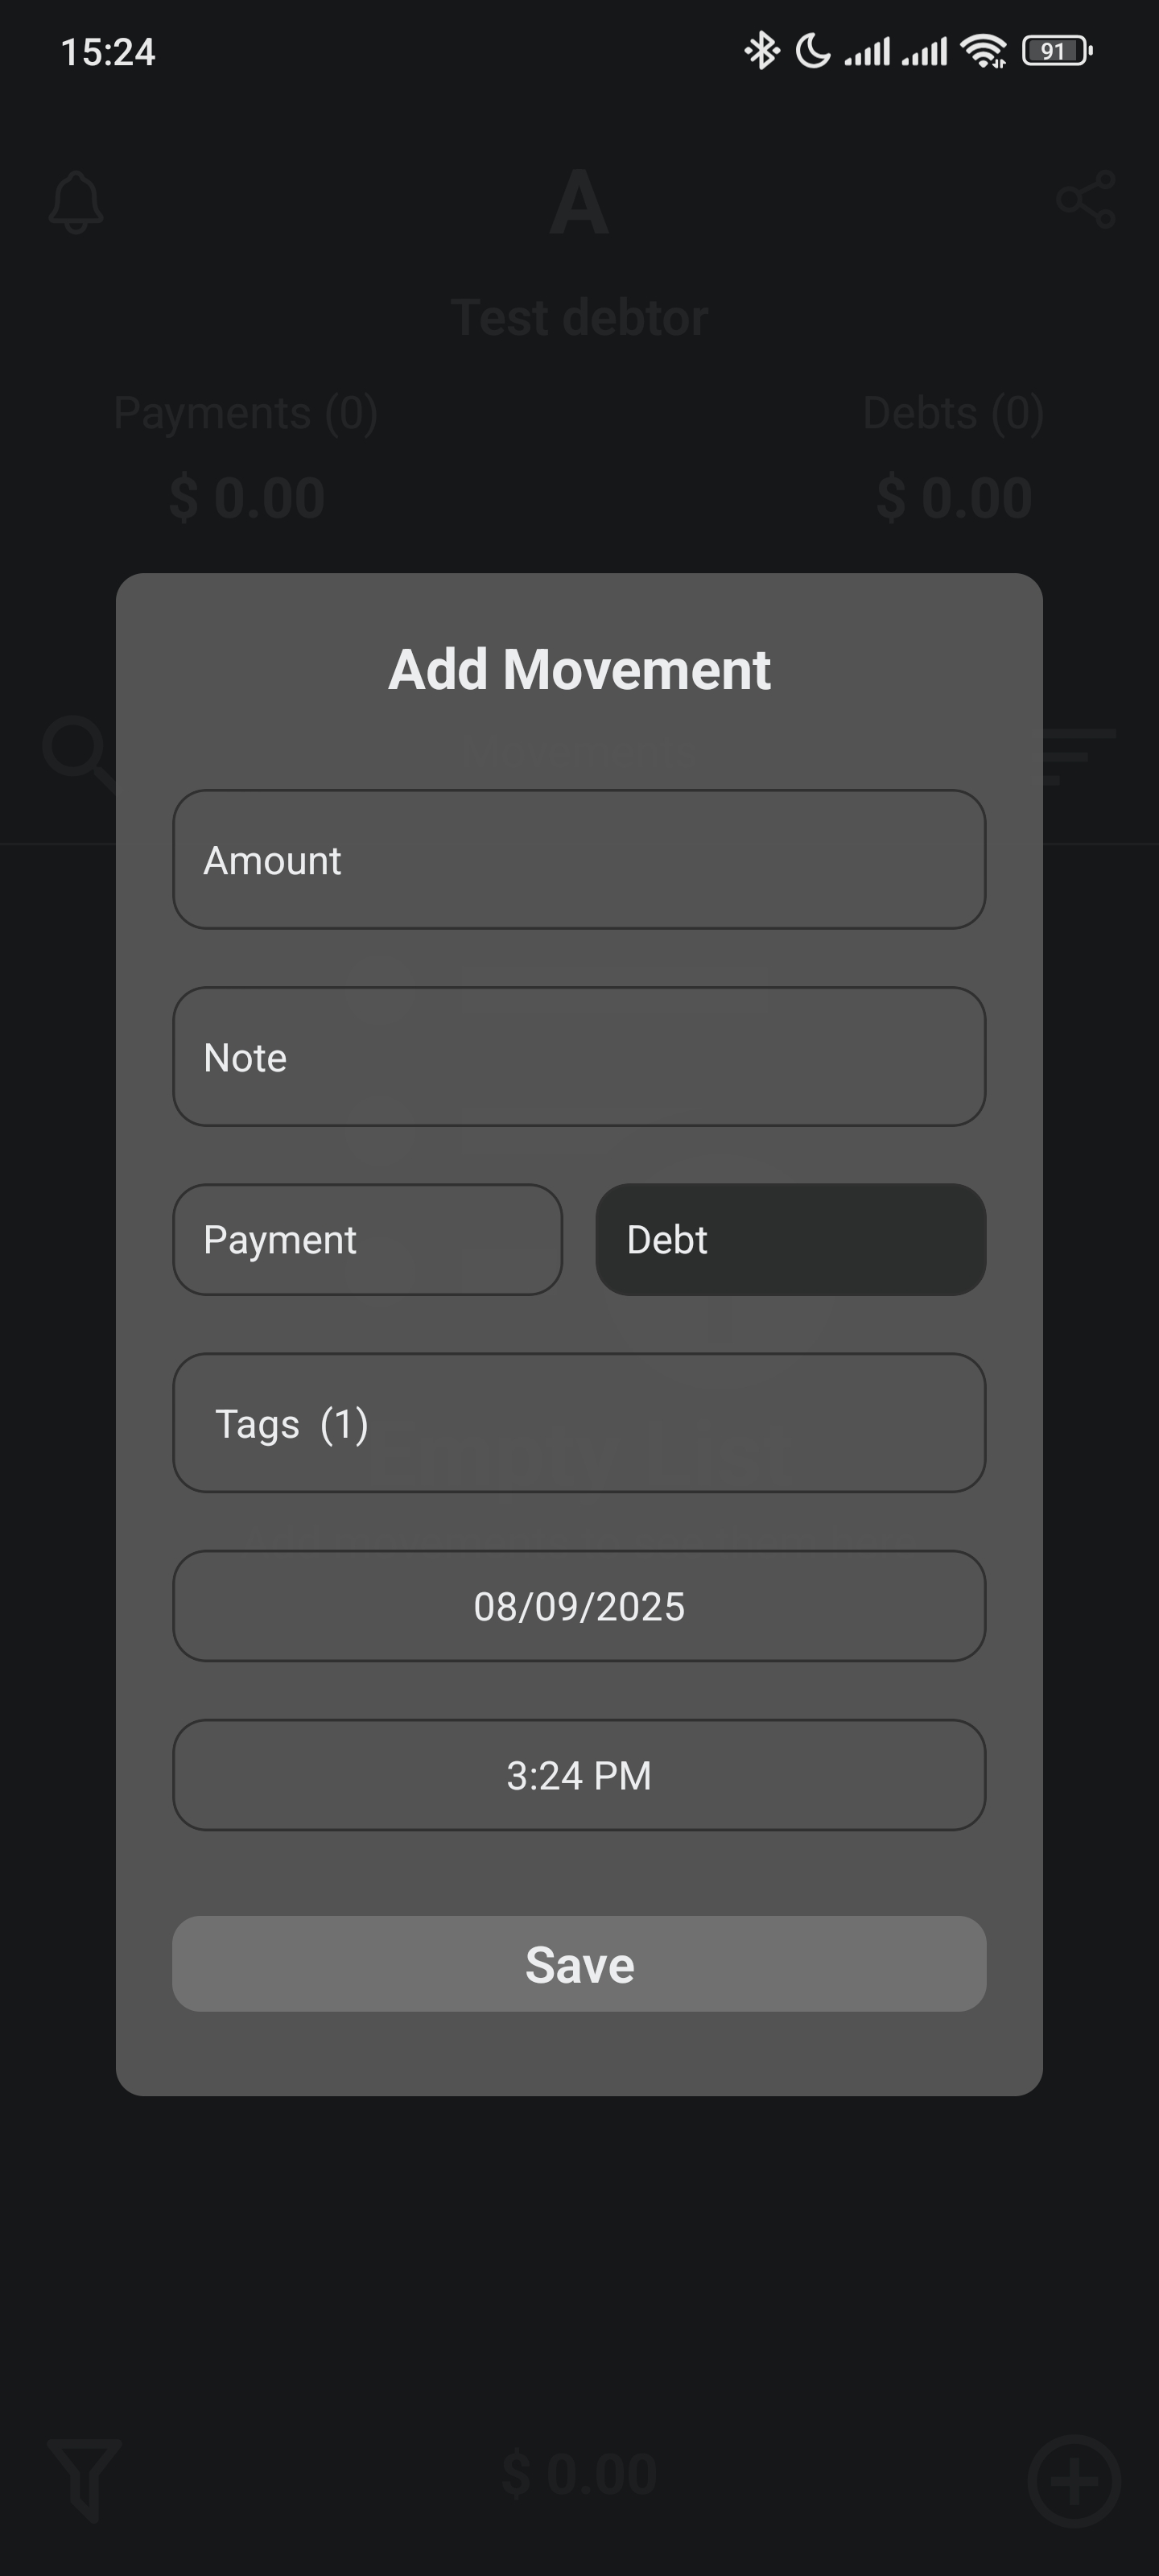
Fill in the movement details, including amount, description, date, and type (debt or payment).
You can also assign Tags to categorize the movement.
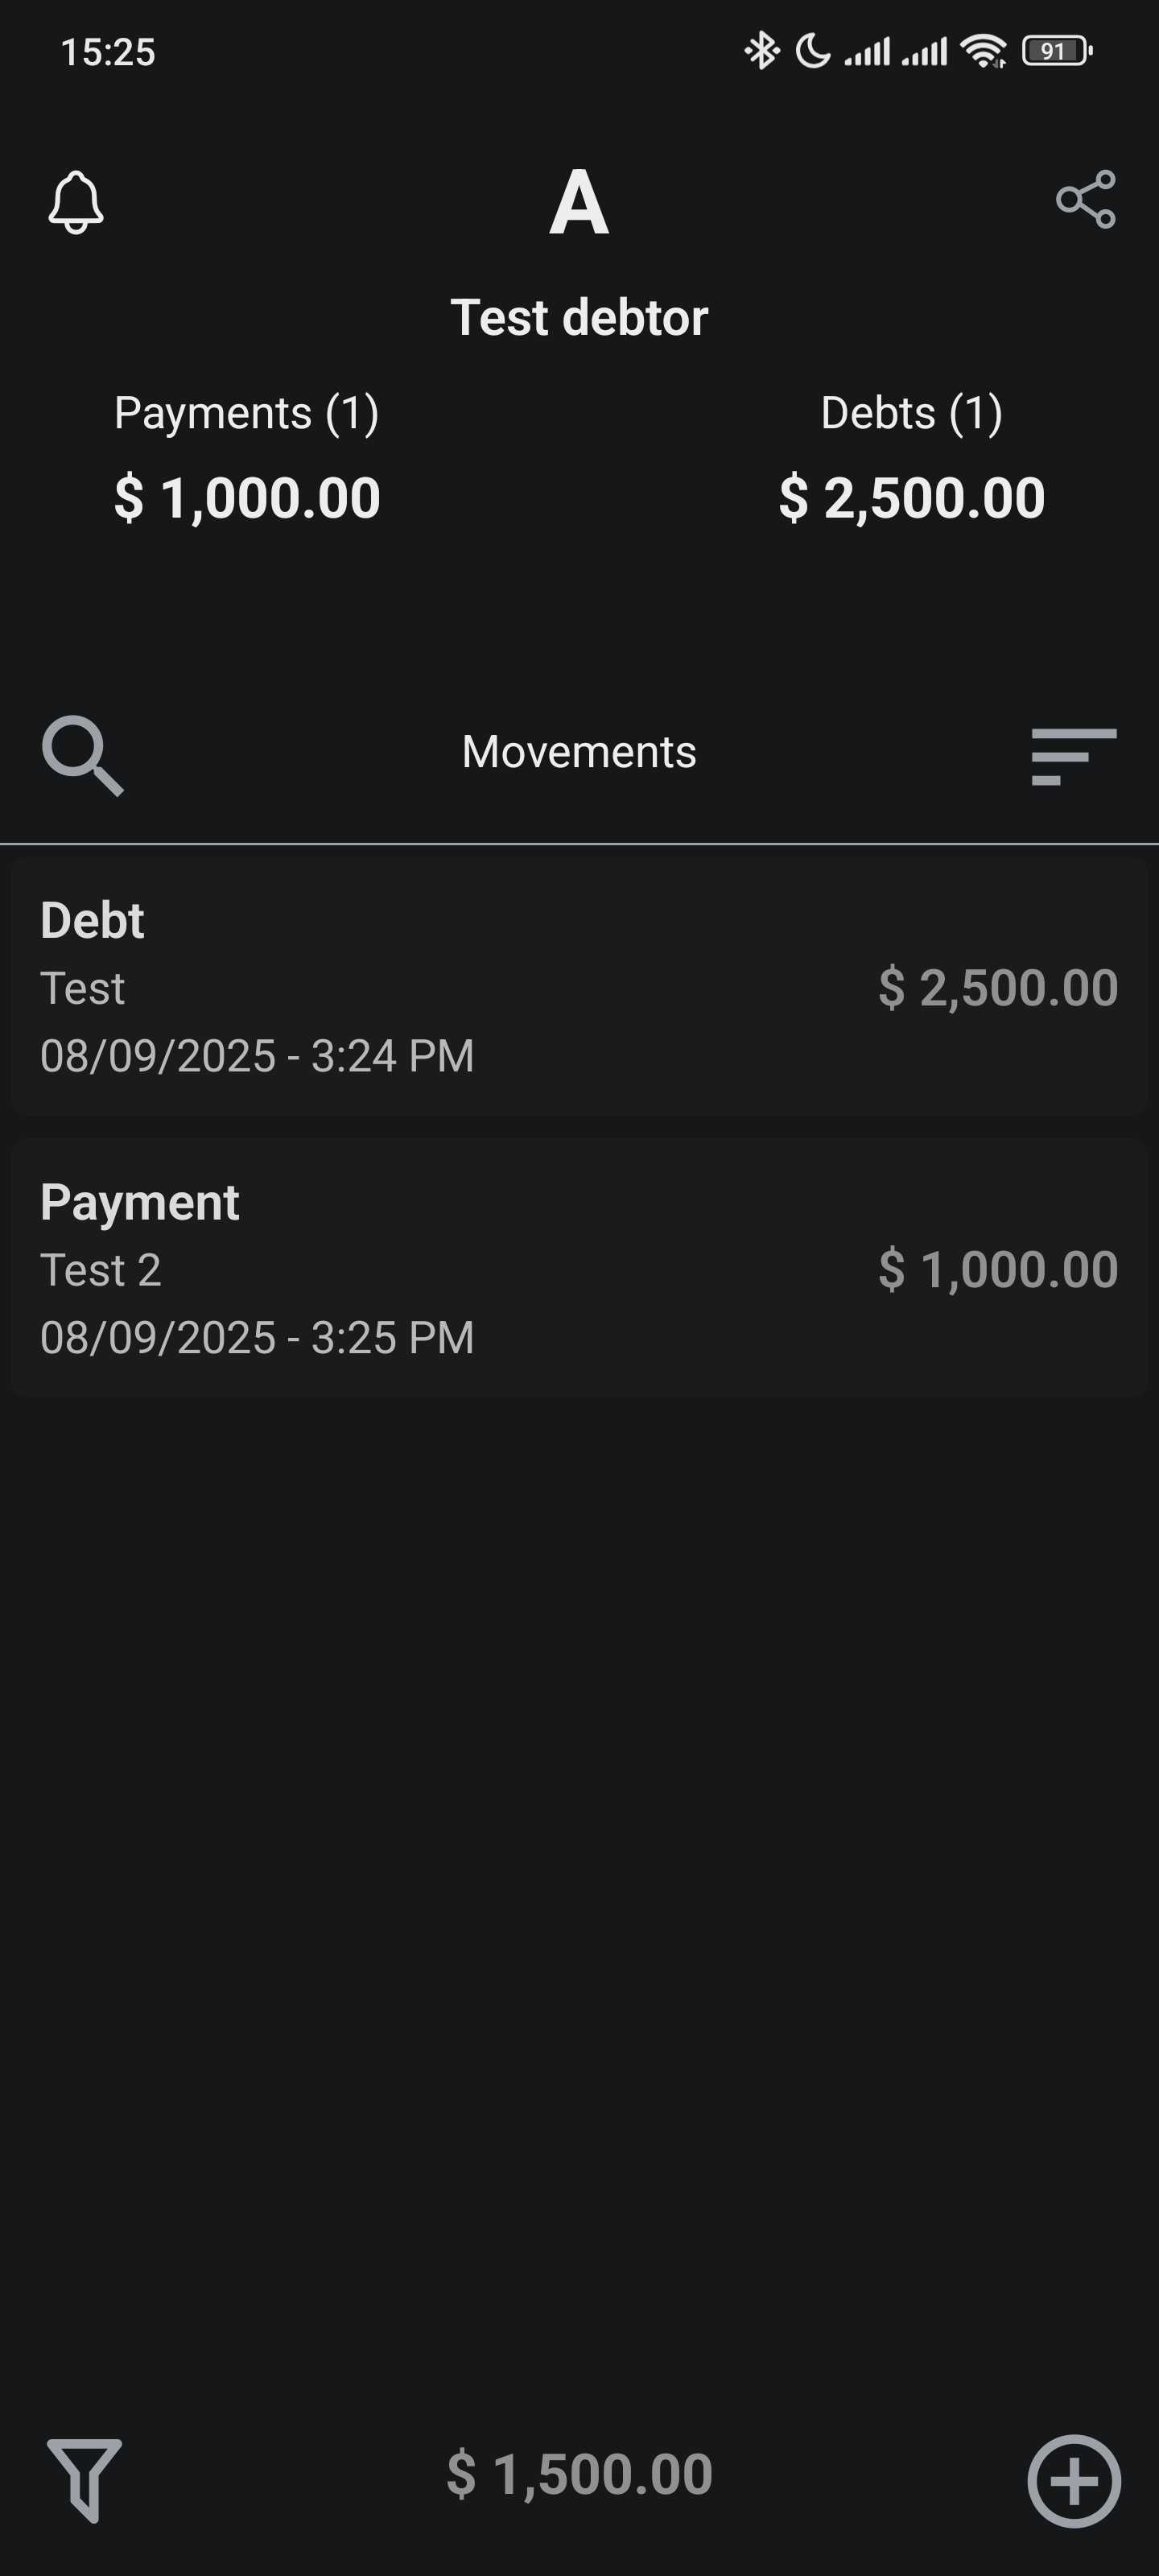
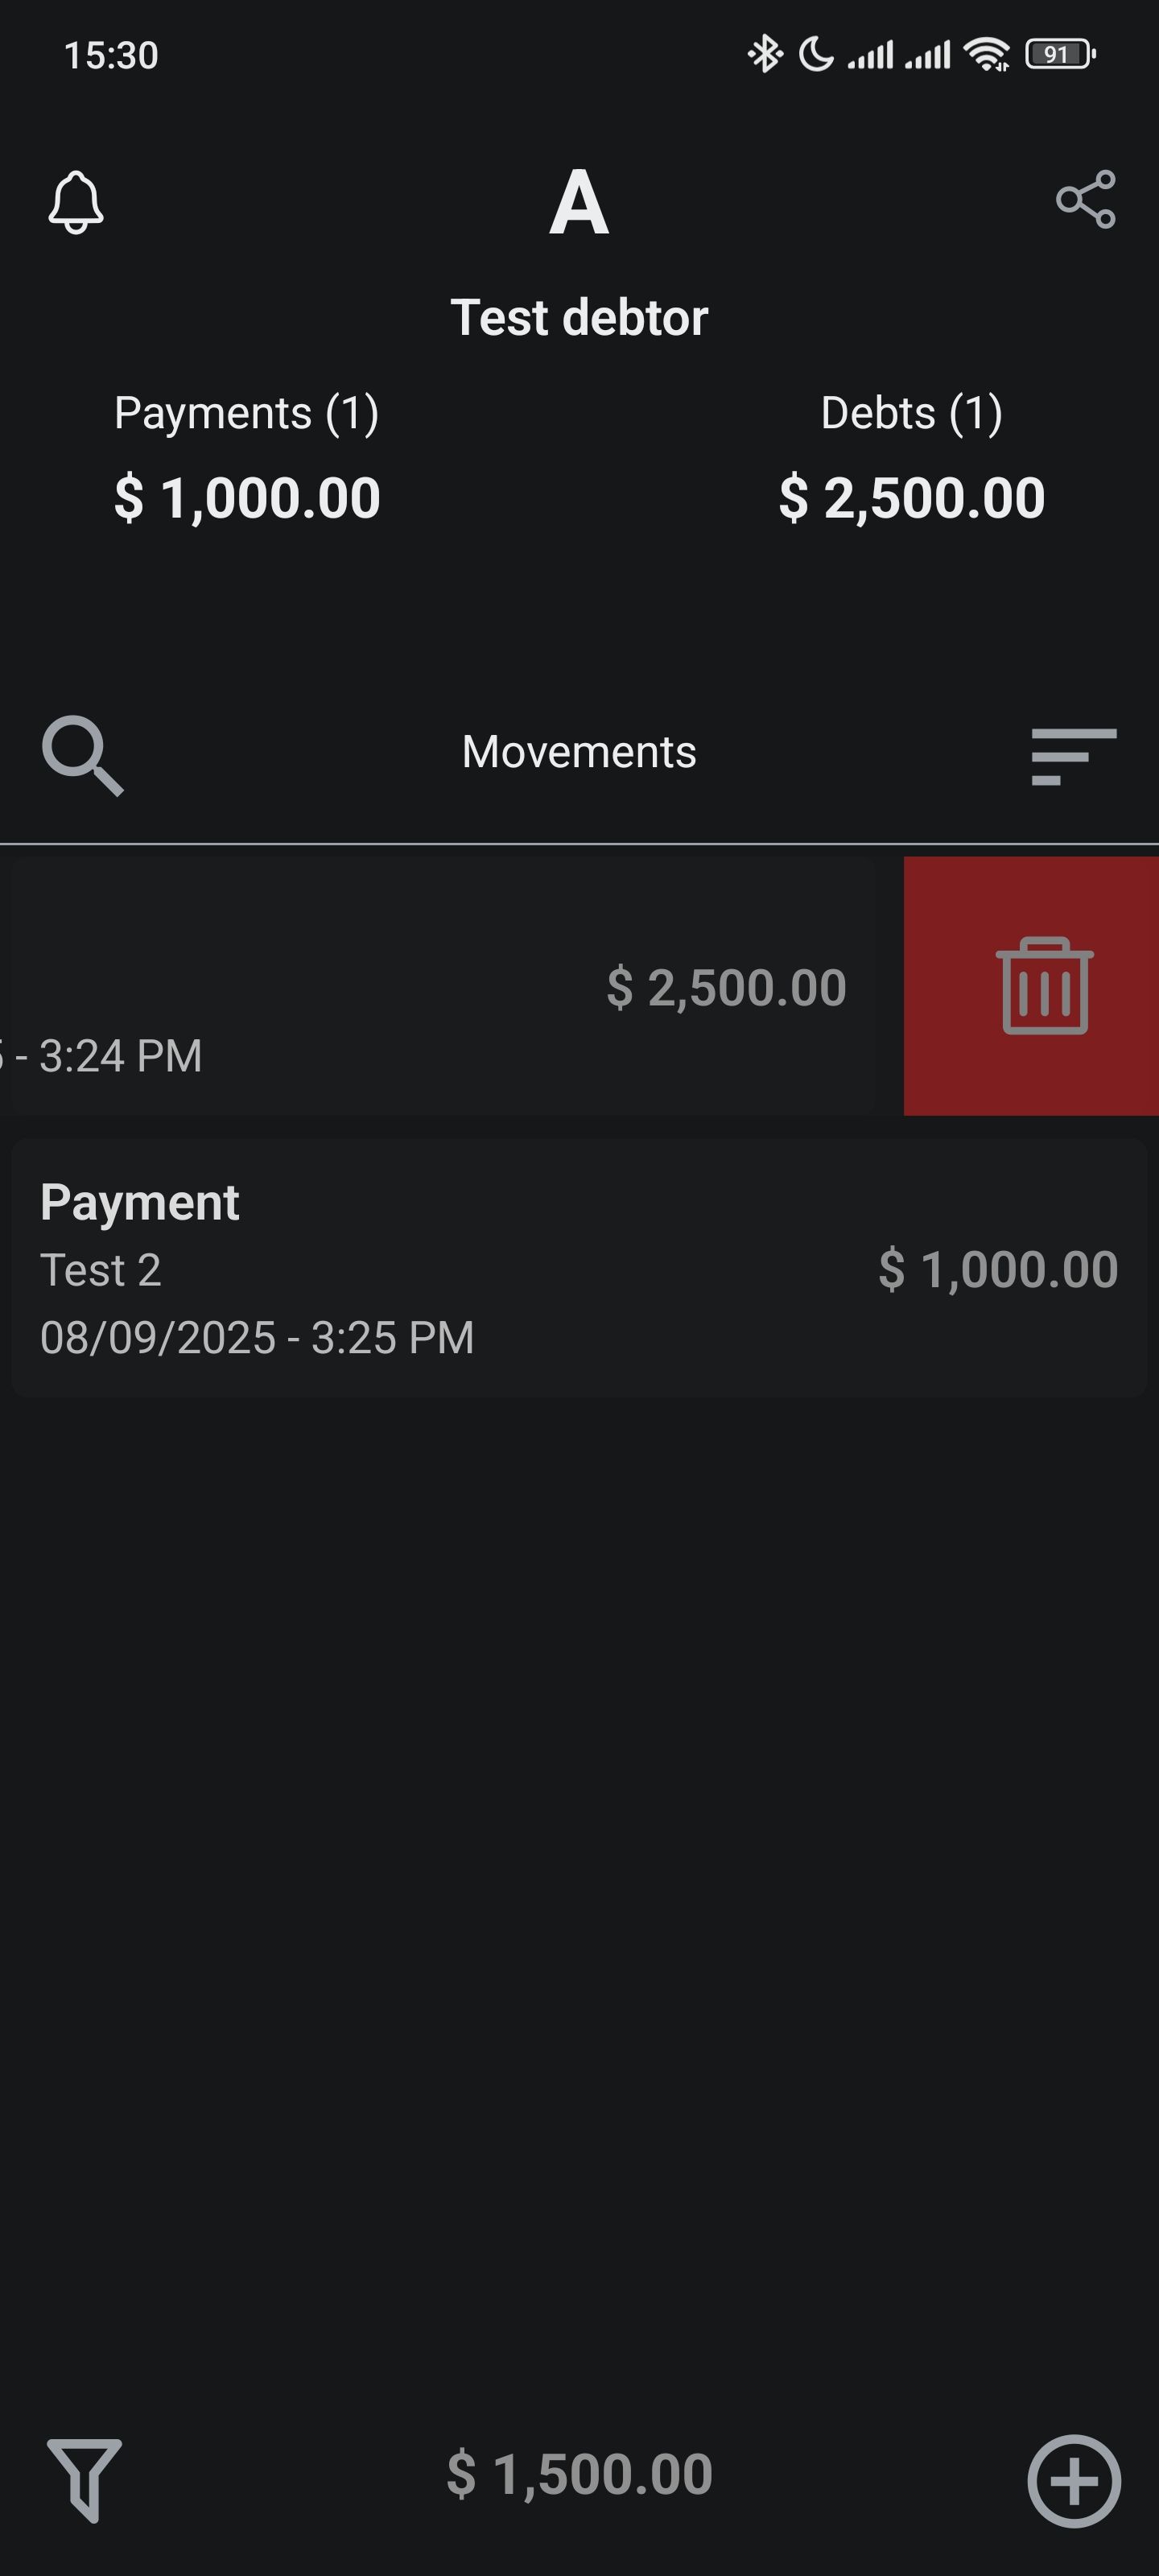
Once added, the movement will appear in the list of movements:
Editing and Deleting
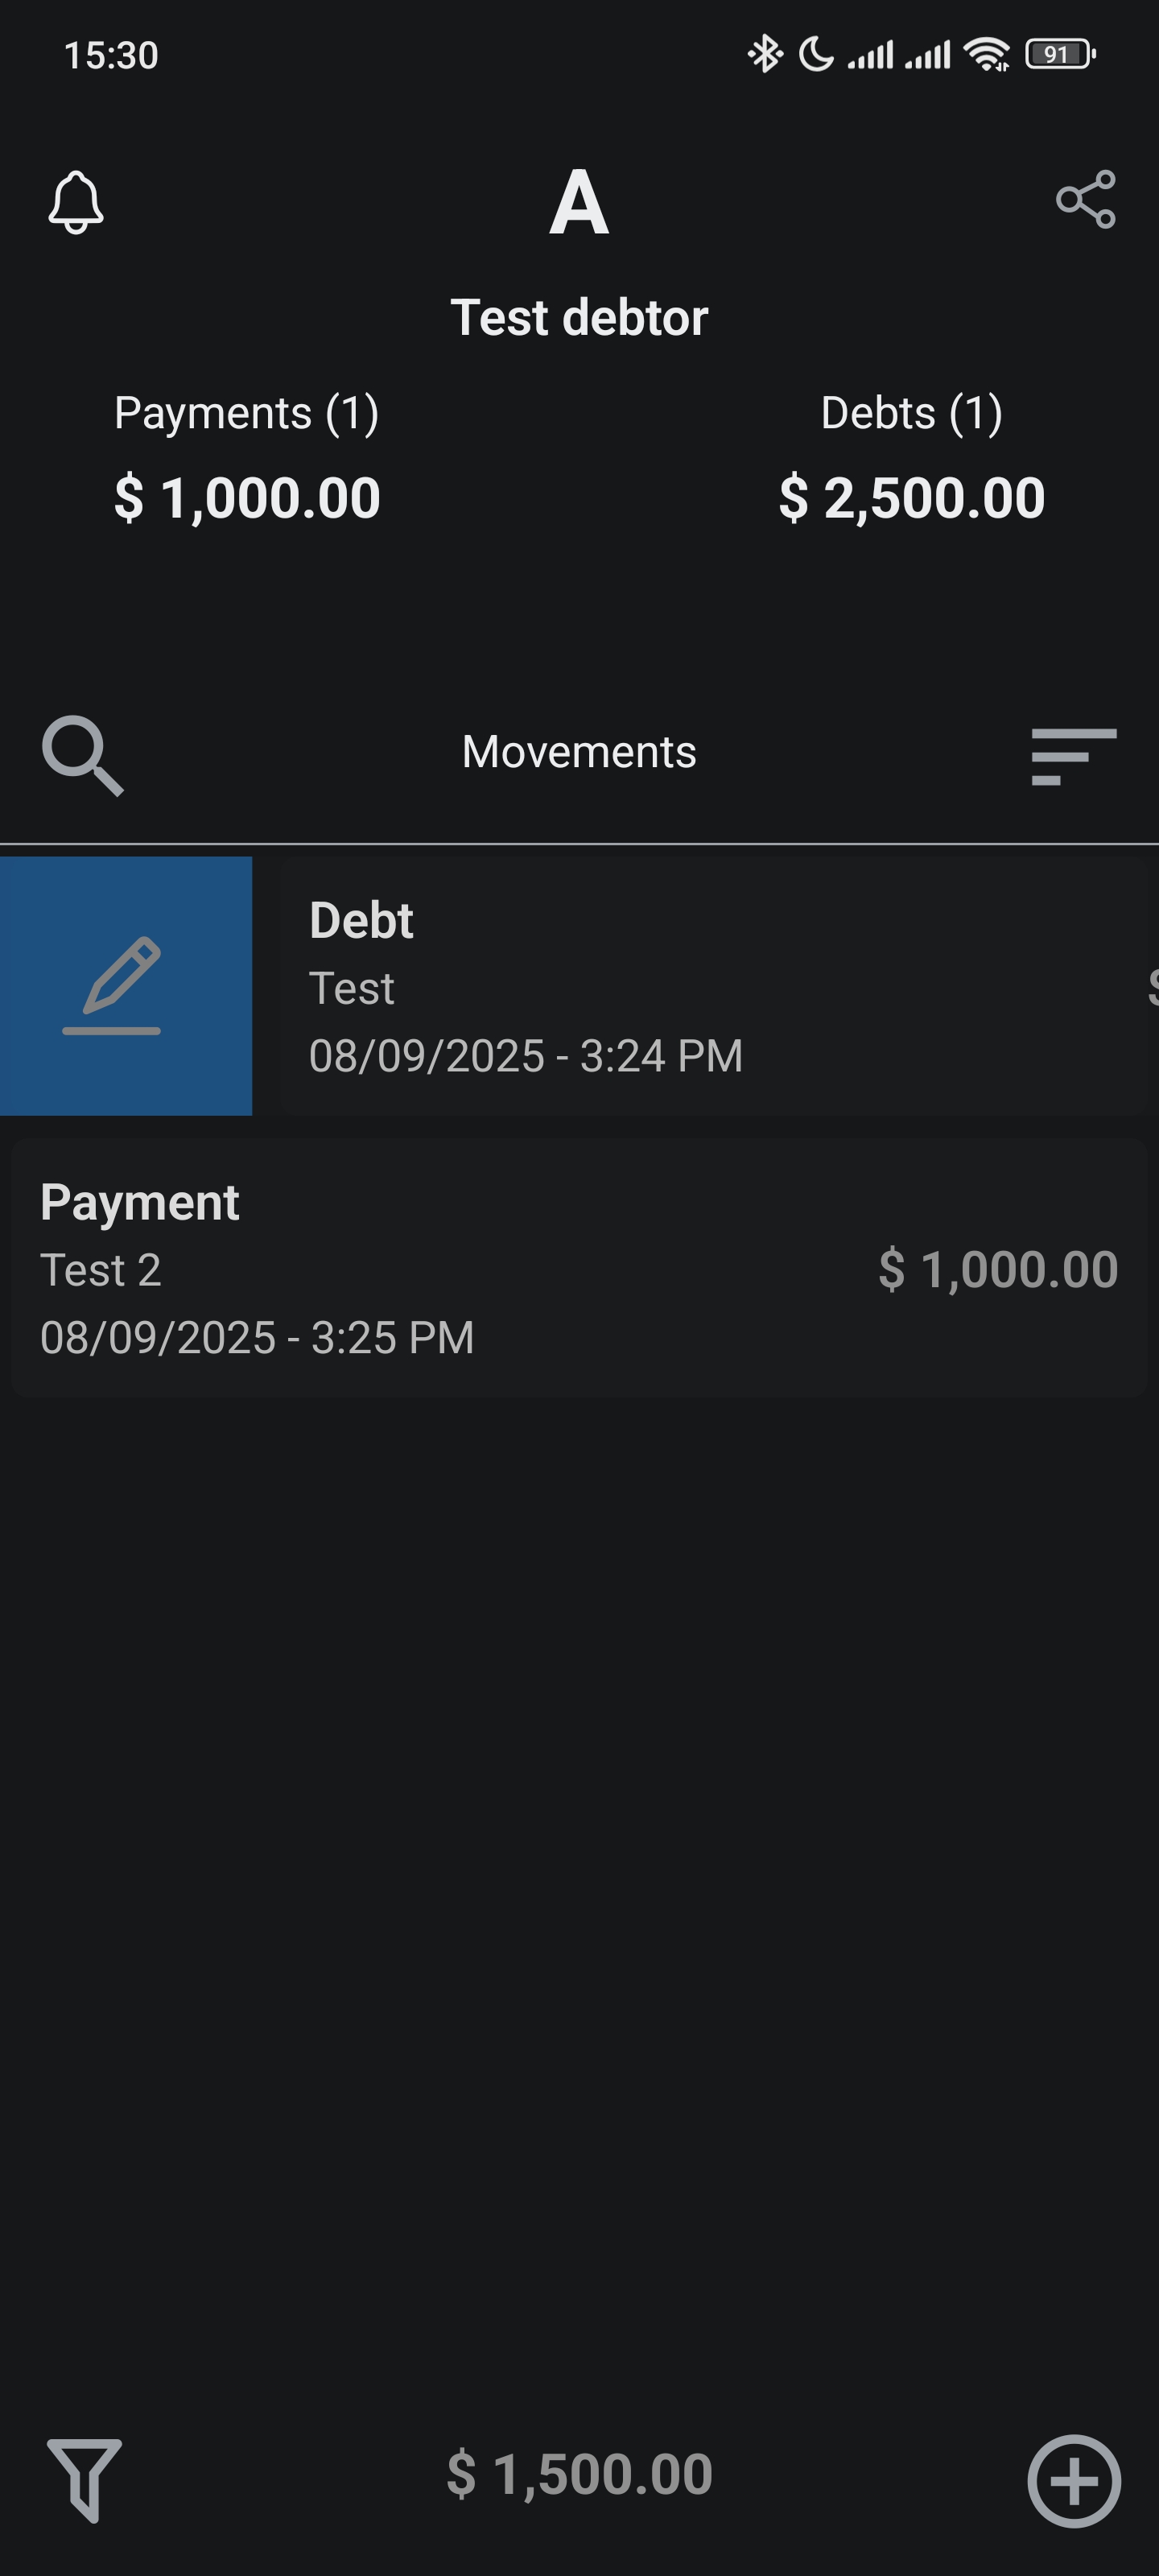
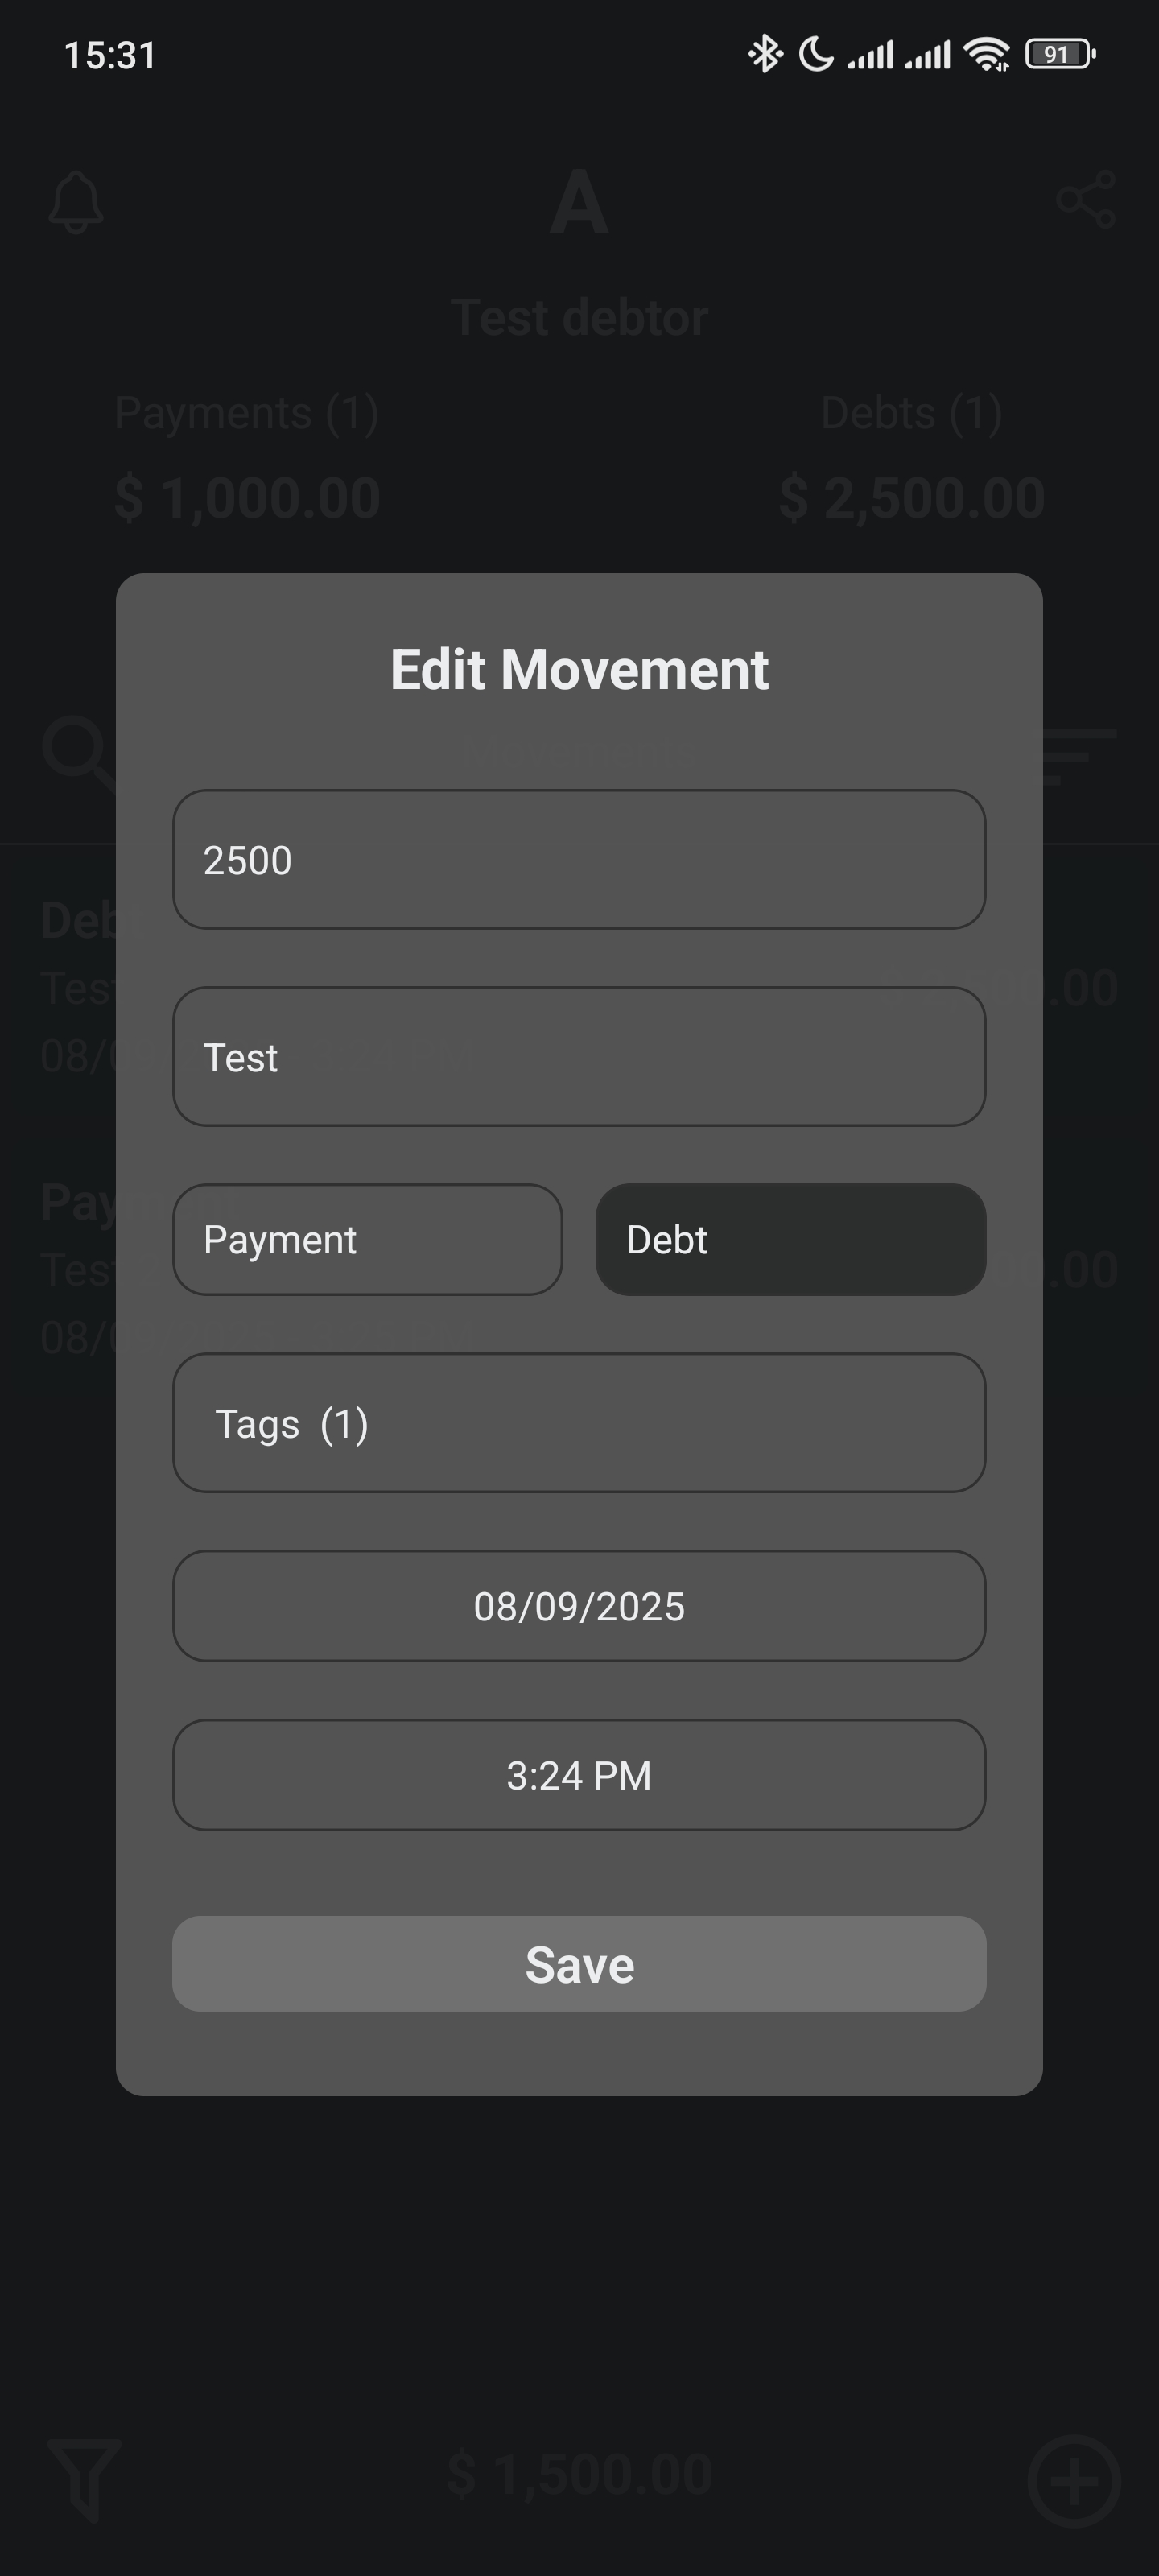
To edit a movement, swipe right on the movement's entry in the list:
Then you can modify the amount, description, date, type, and Tags:
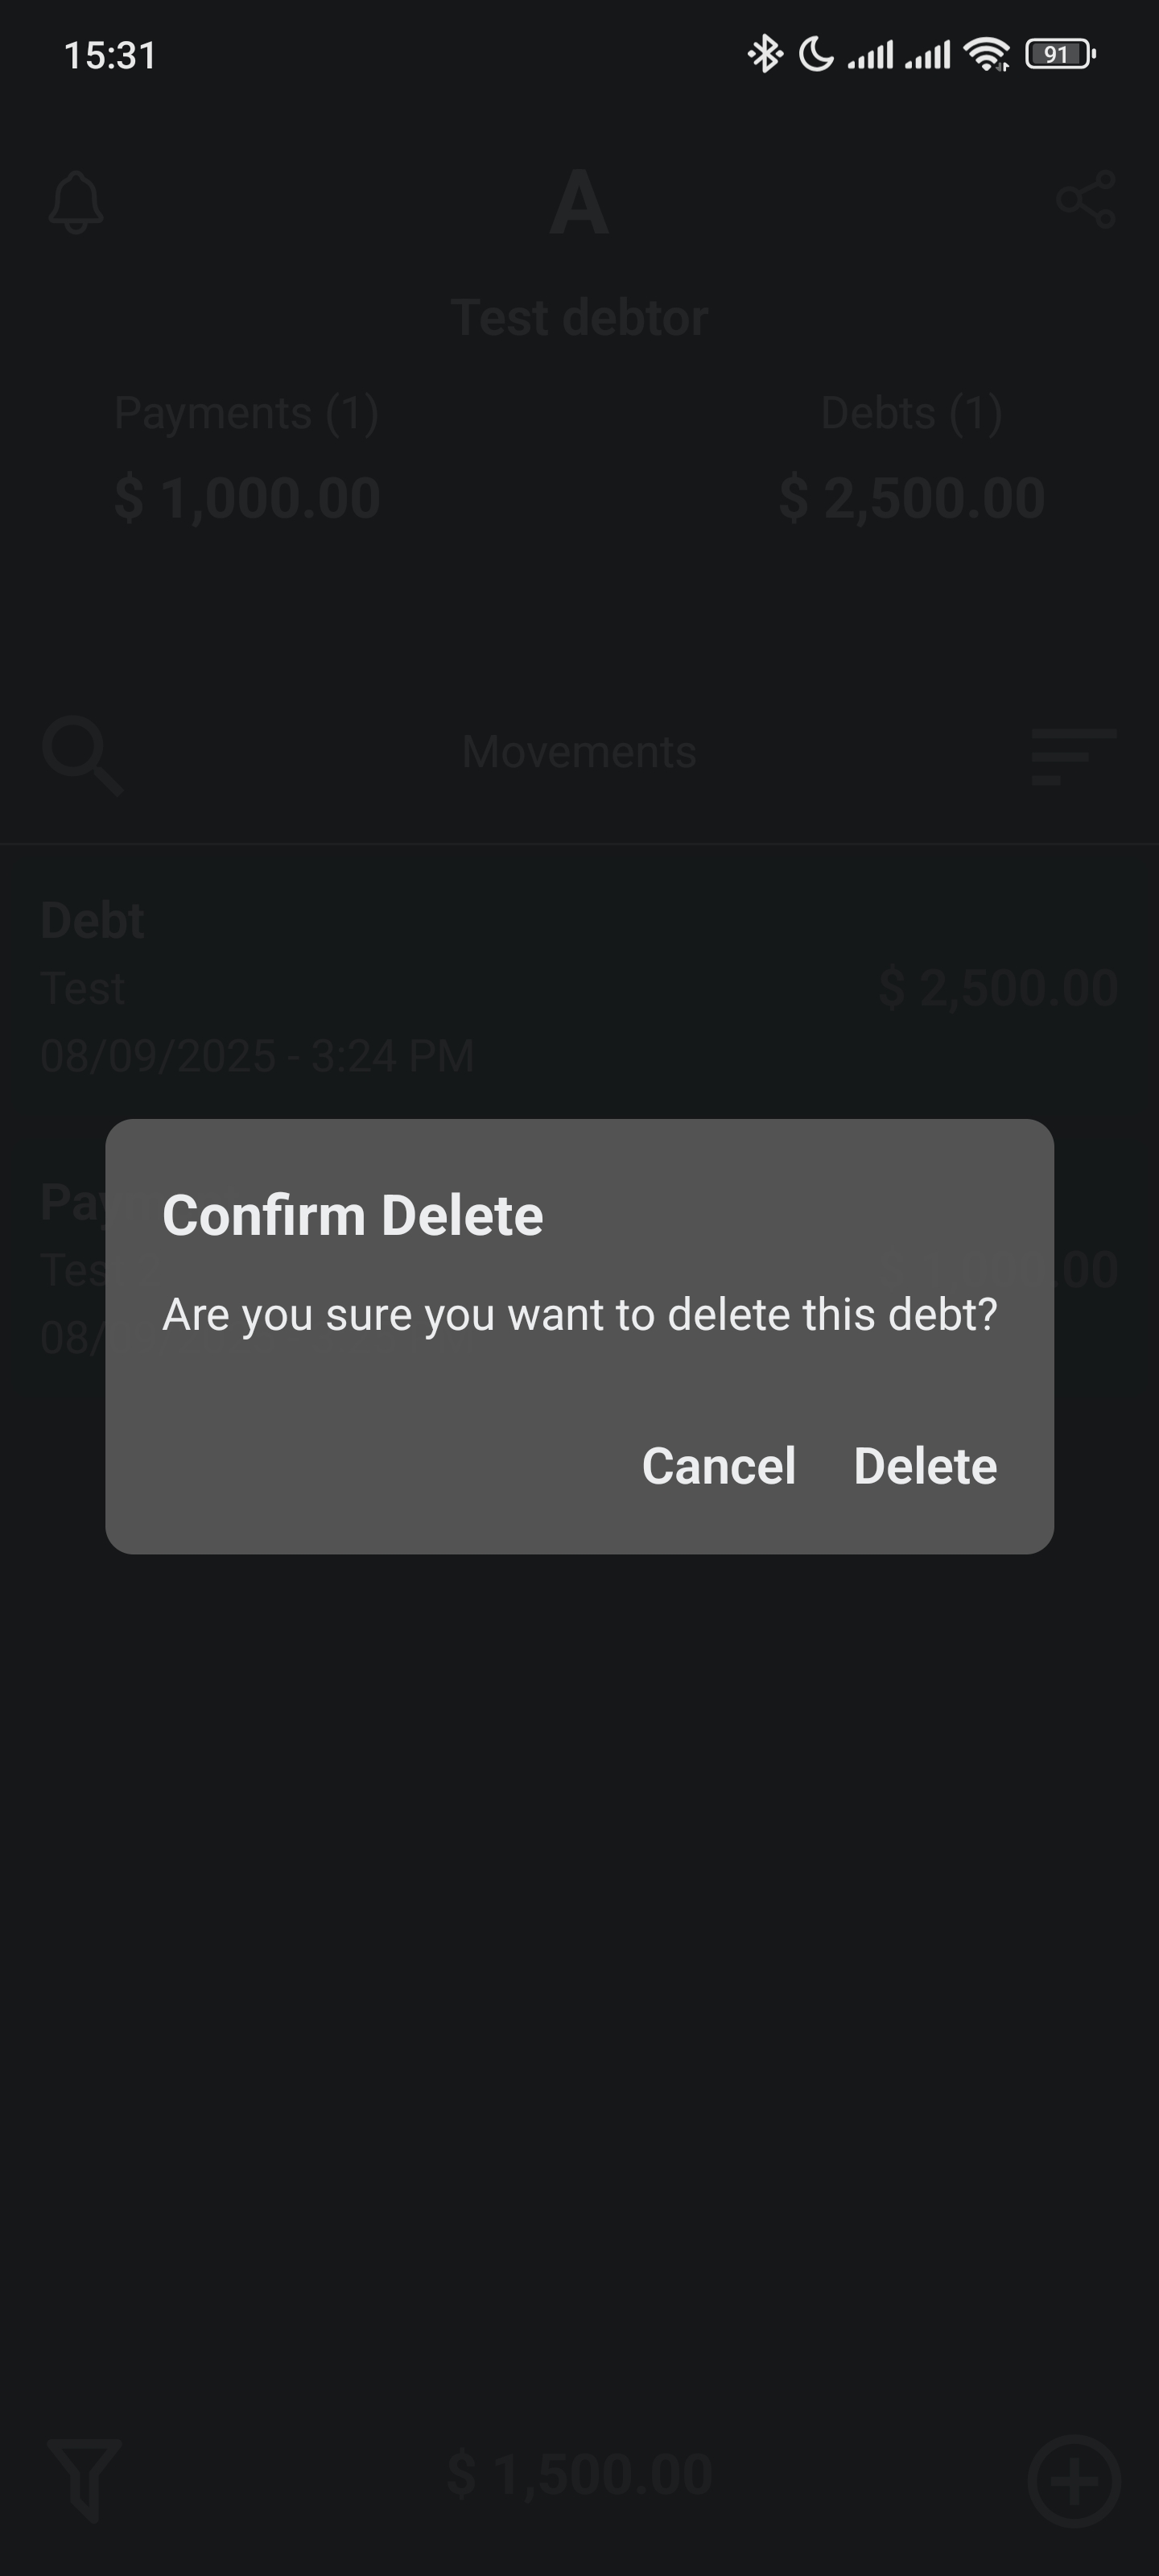
To delete a movement, swipe left on the movement's entry in the list:
You will see a dialog where you can confirm the deletion:
Filtering
Once you have multiple movements, you can filter by:
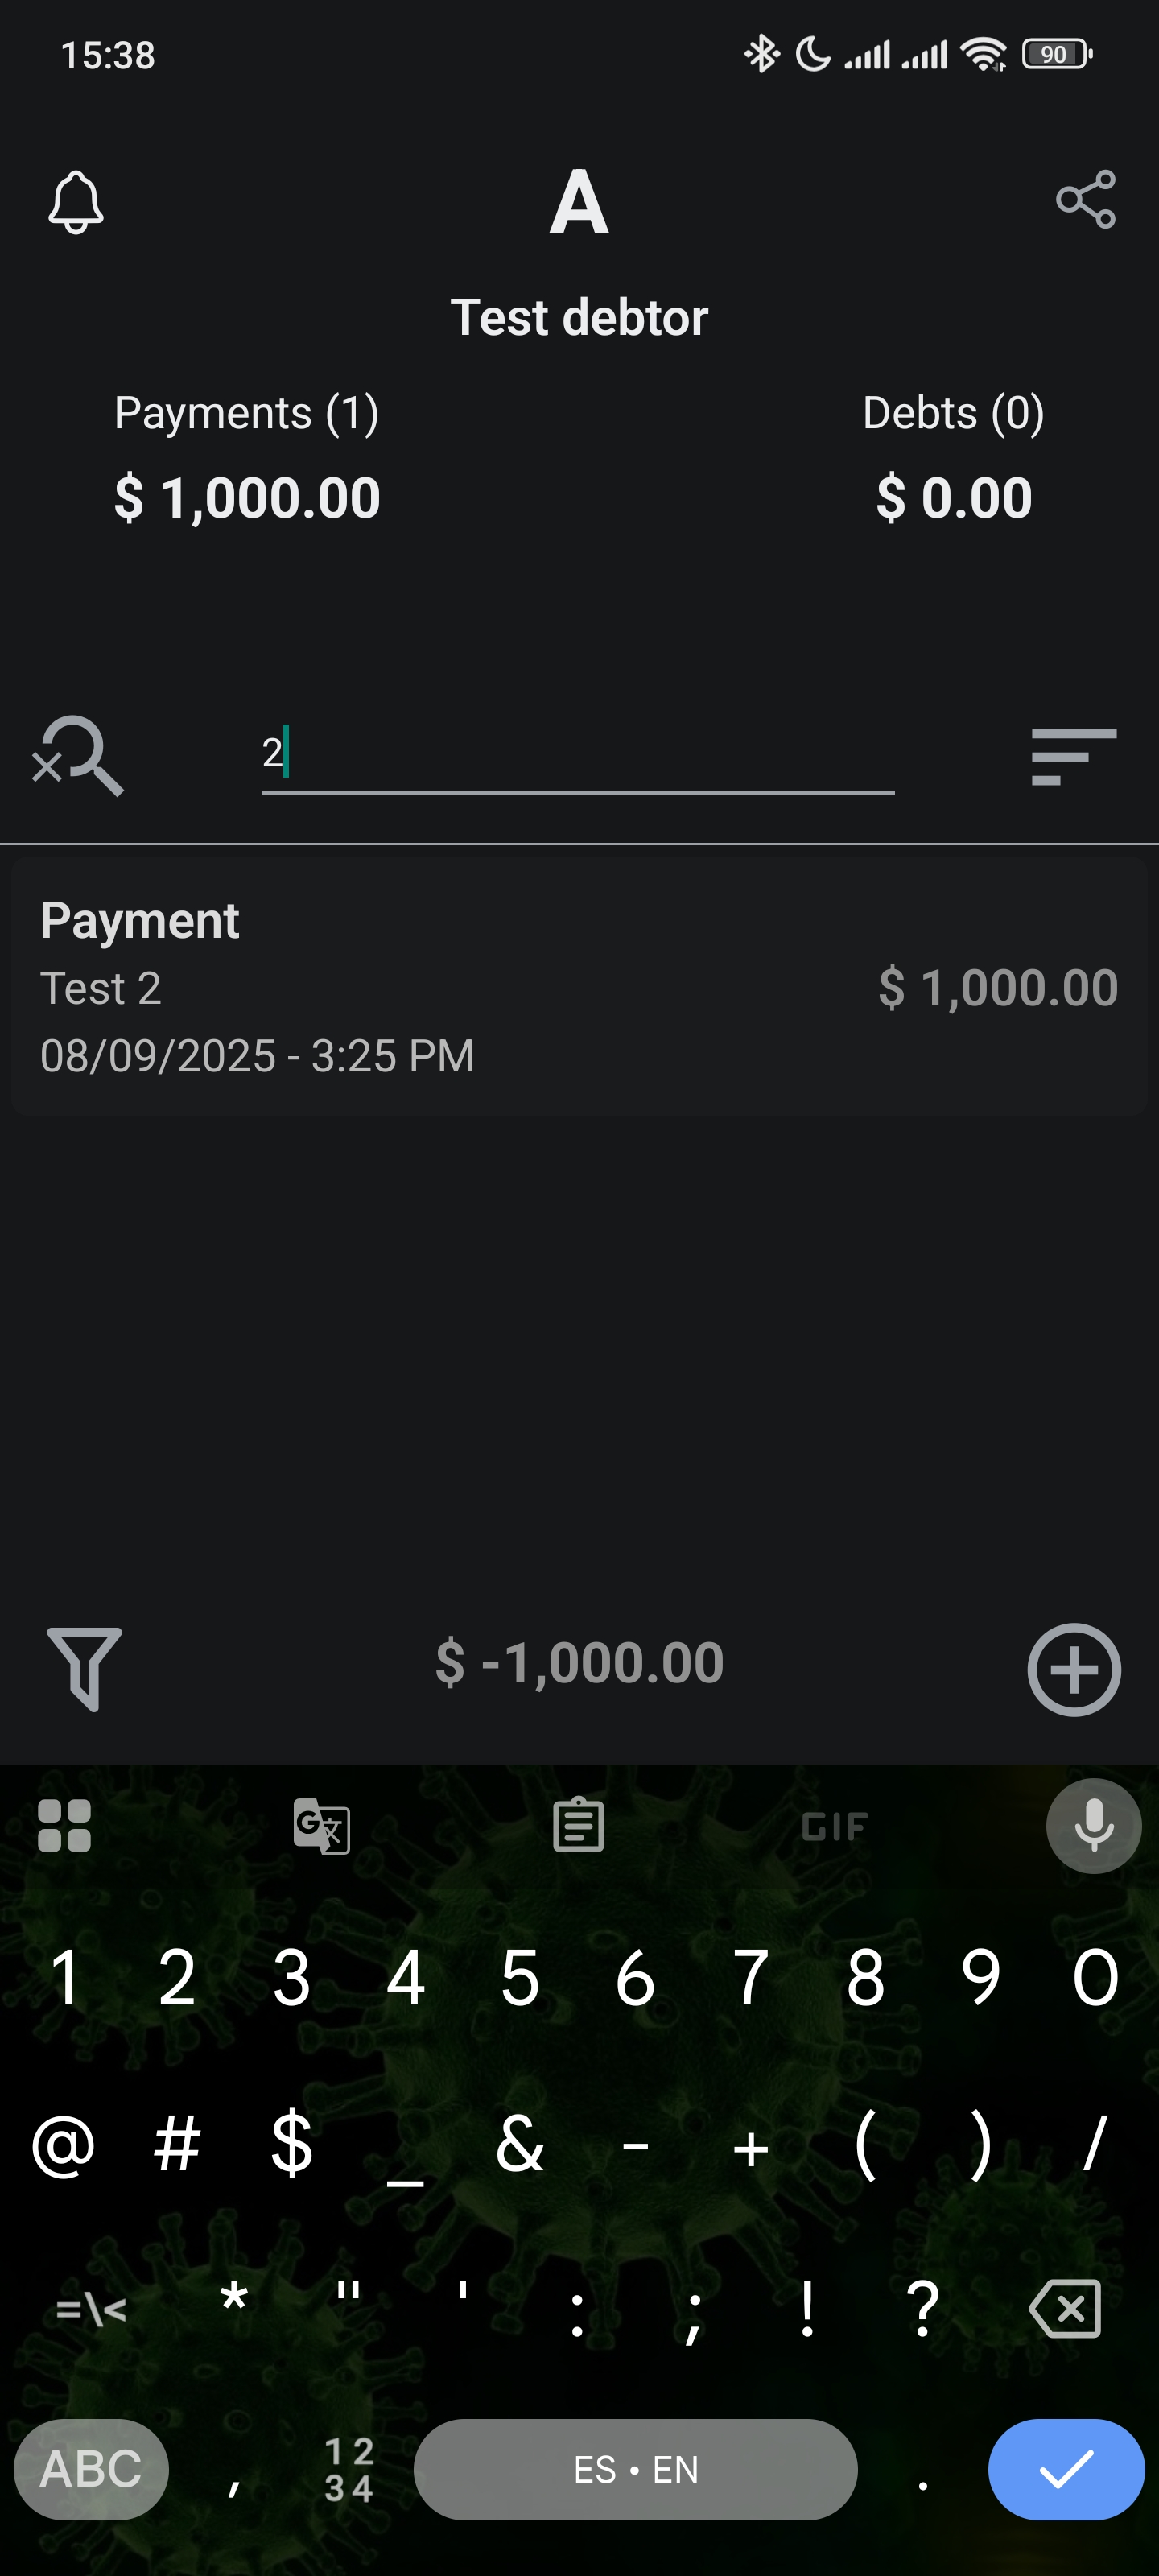
Note
The search bar filters movements by note:
Type
You can filter by debts or payments by tapping the totals at the top:
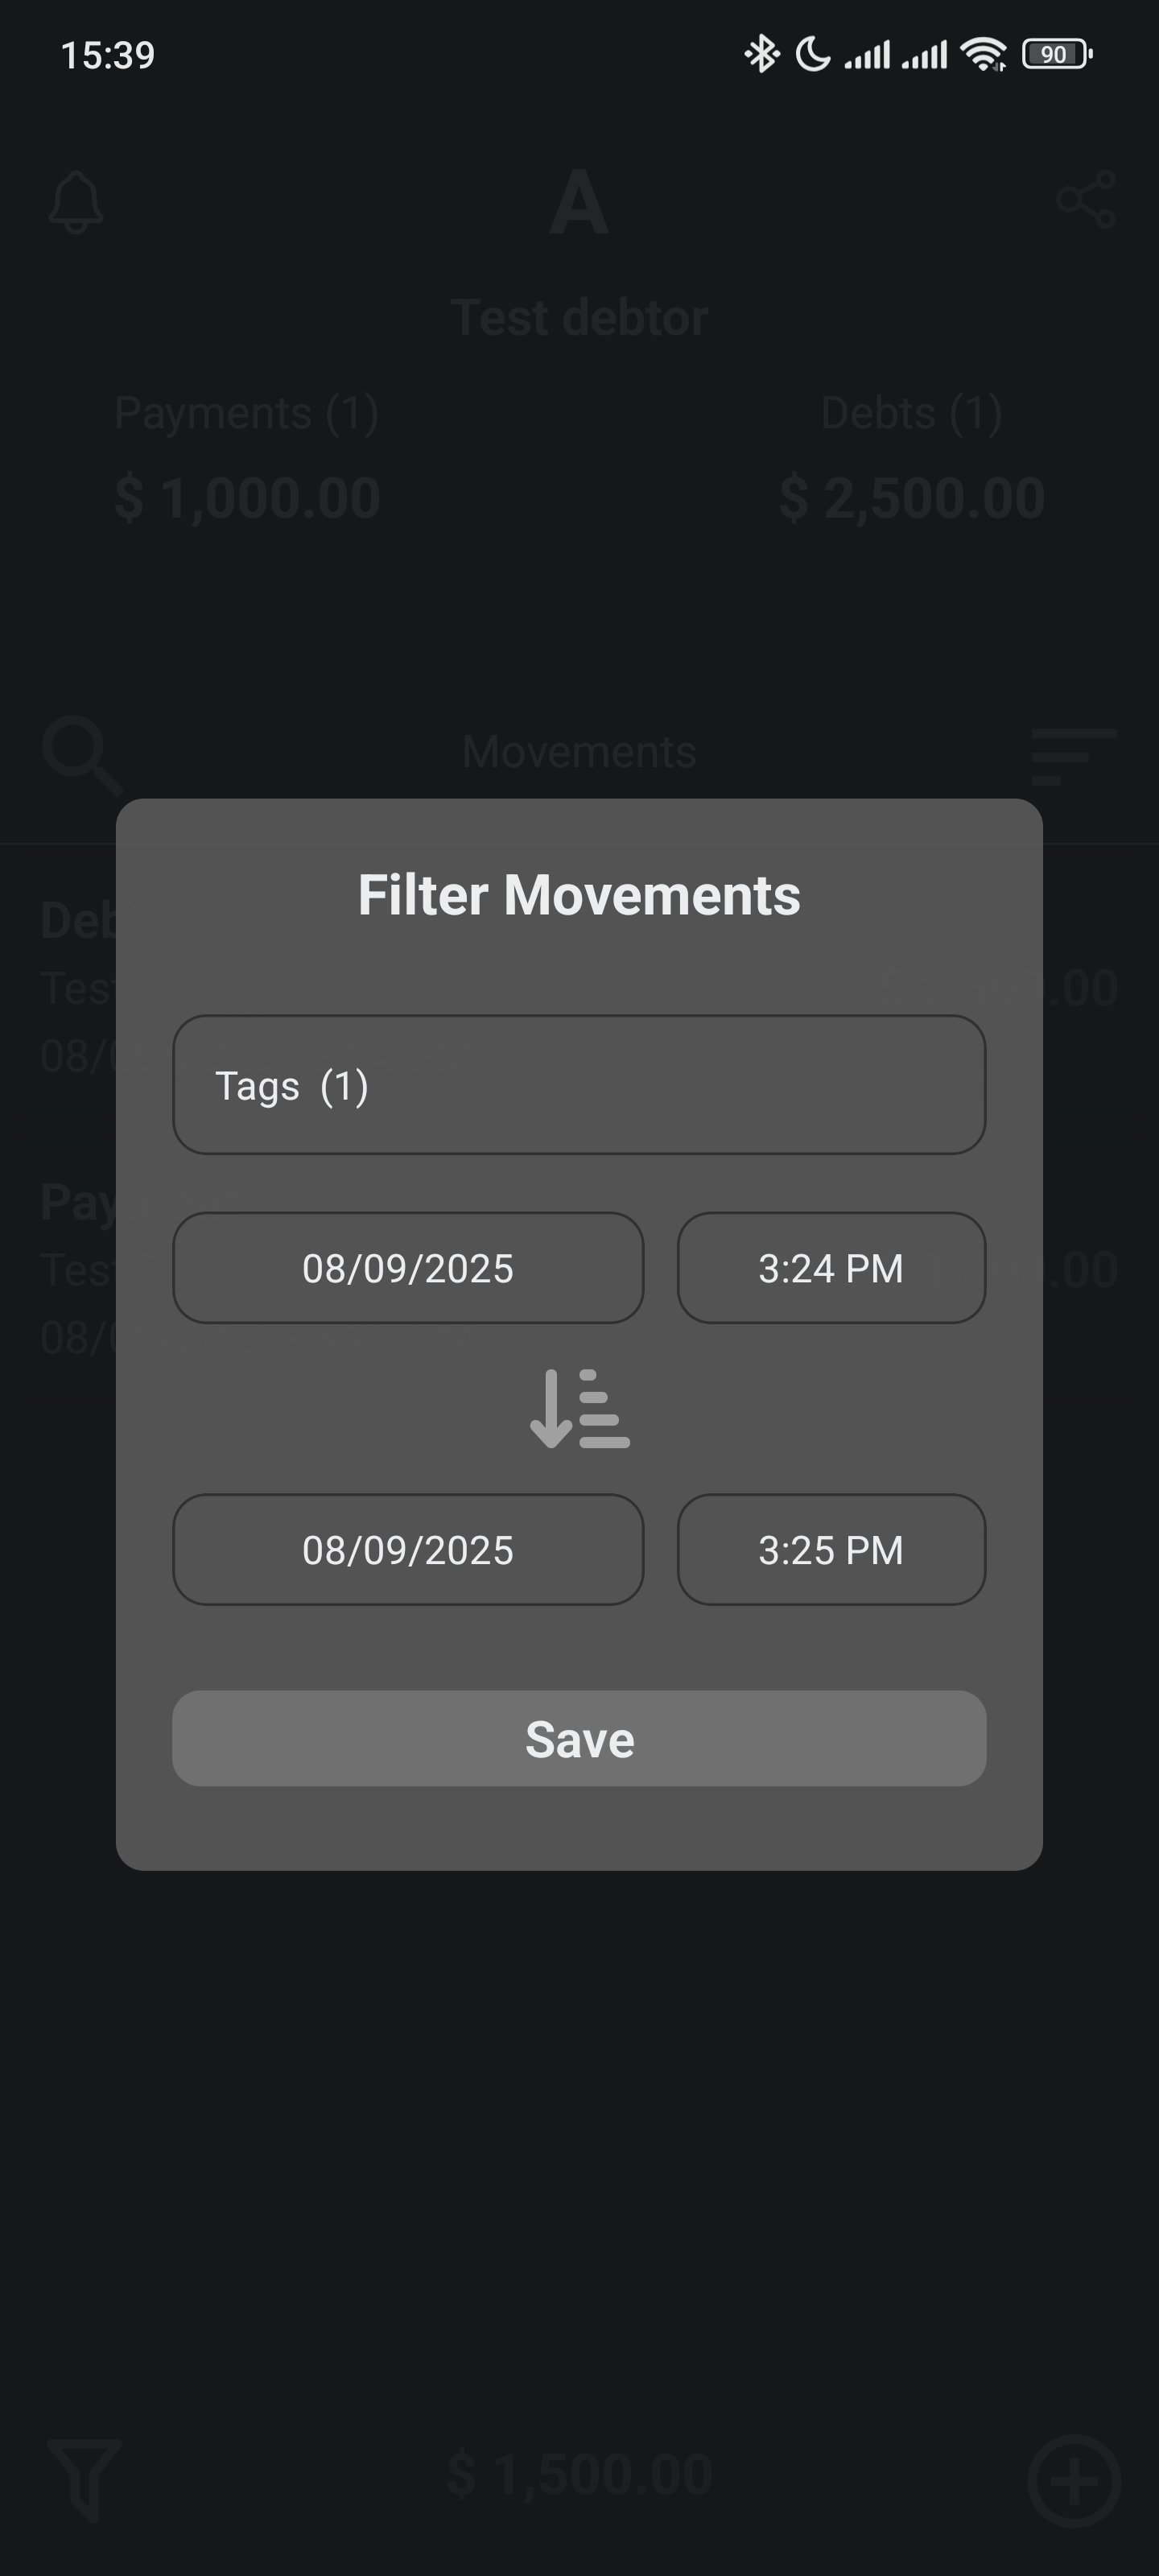
Date & Tags
You can filter by date range and tags using the filter icon:
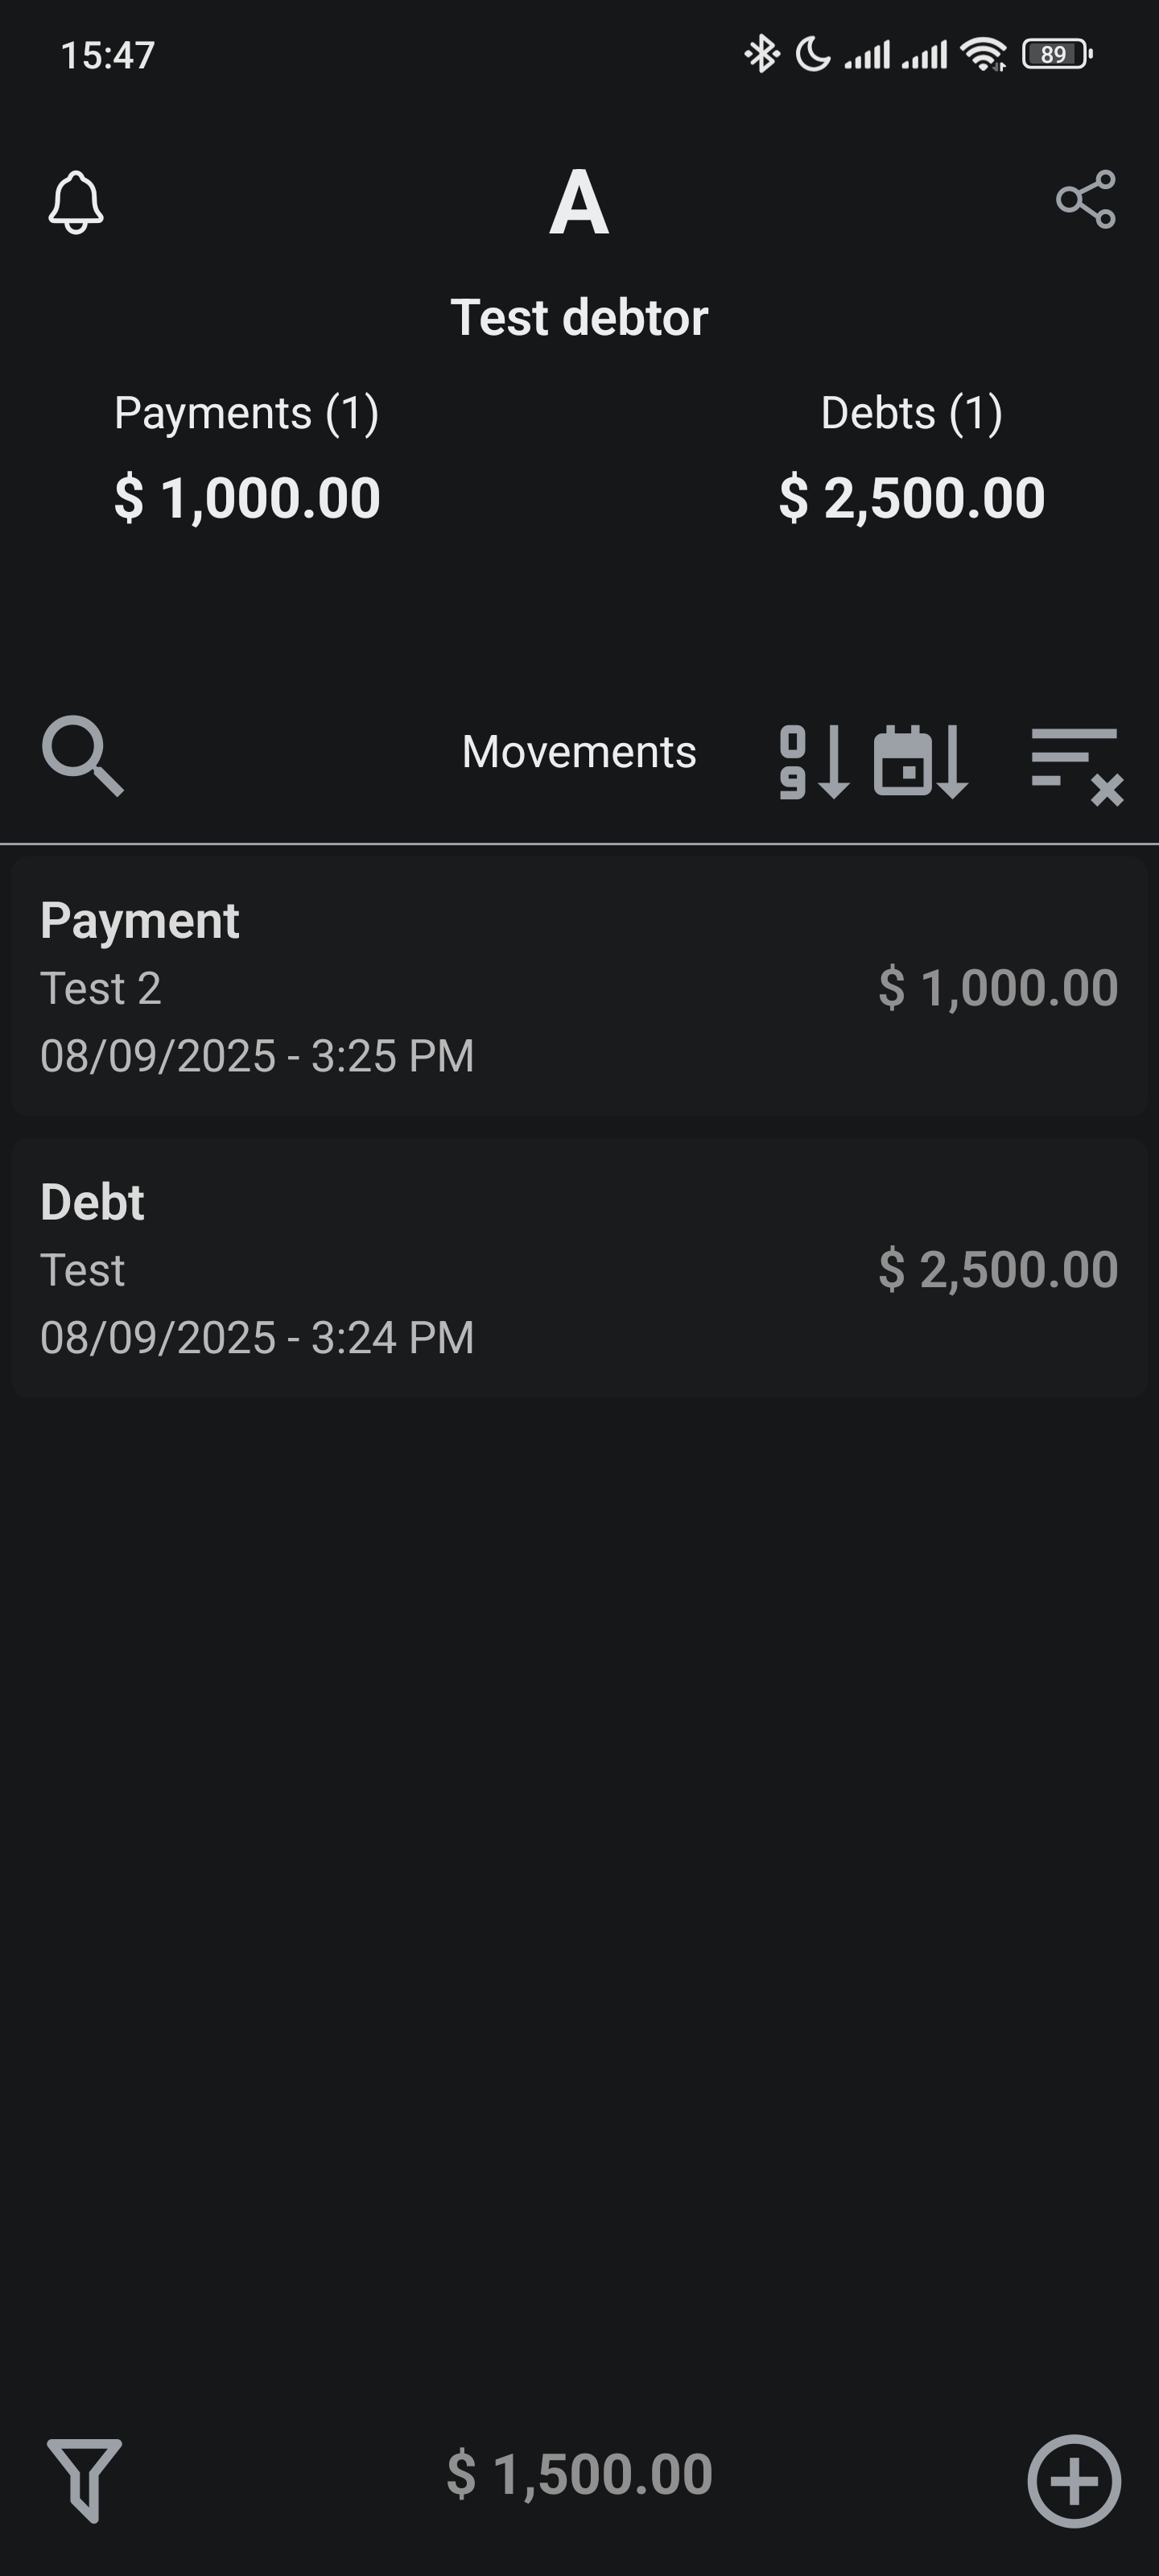
Sorting
You can sort movements by date or amount using the sort icon:
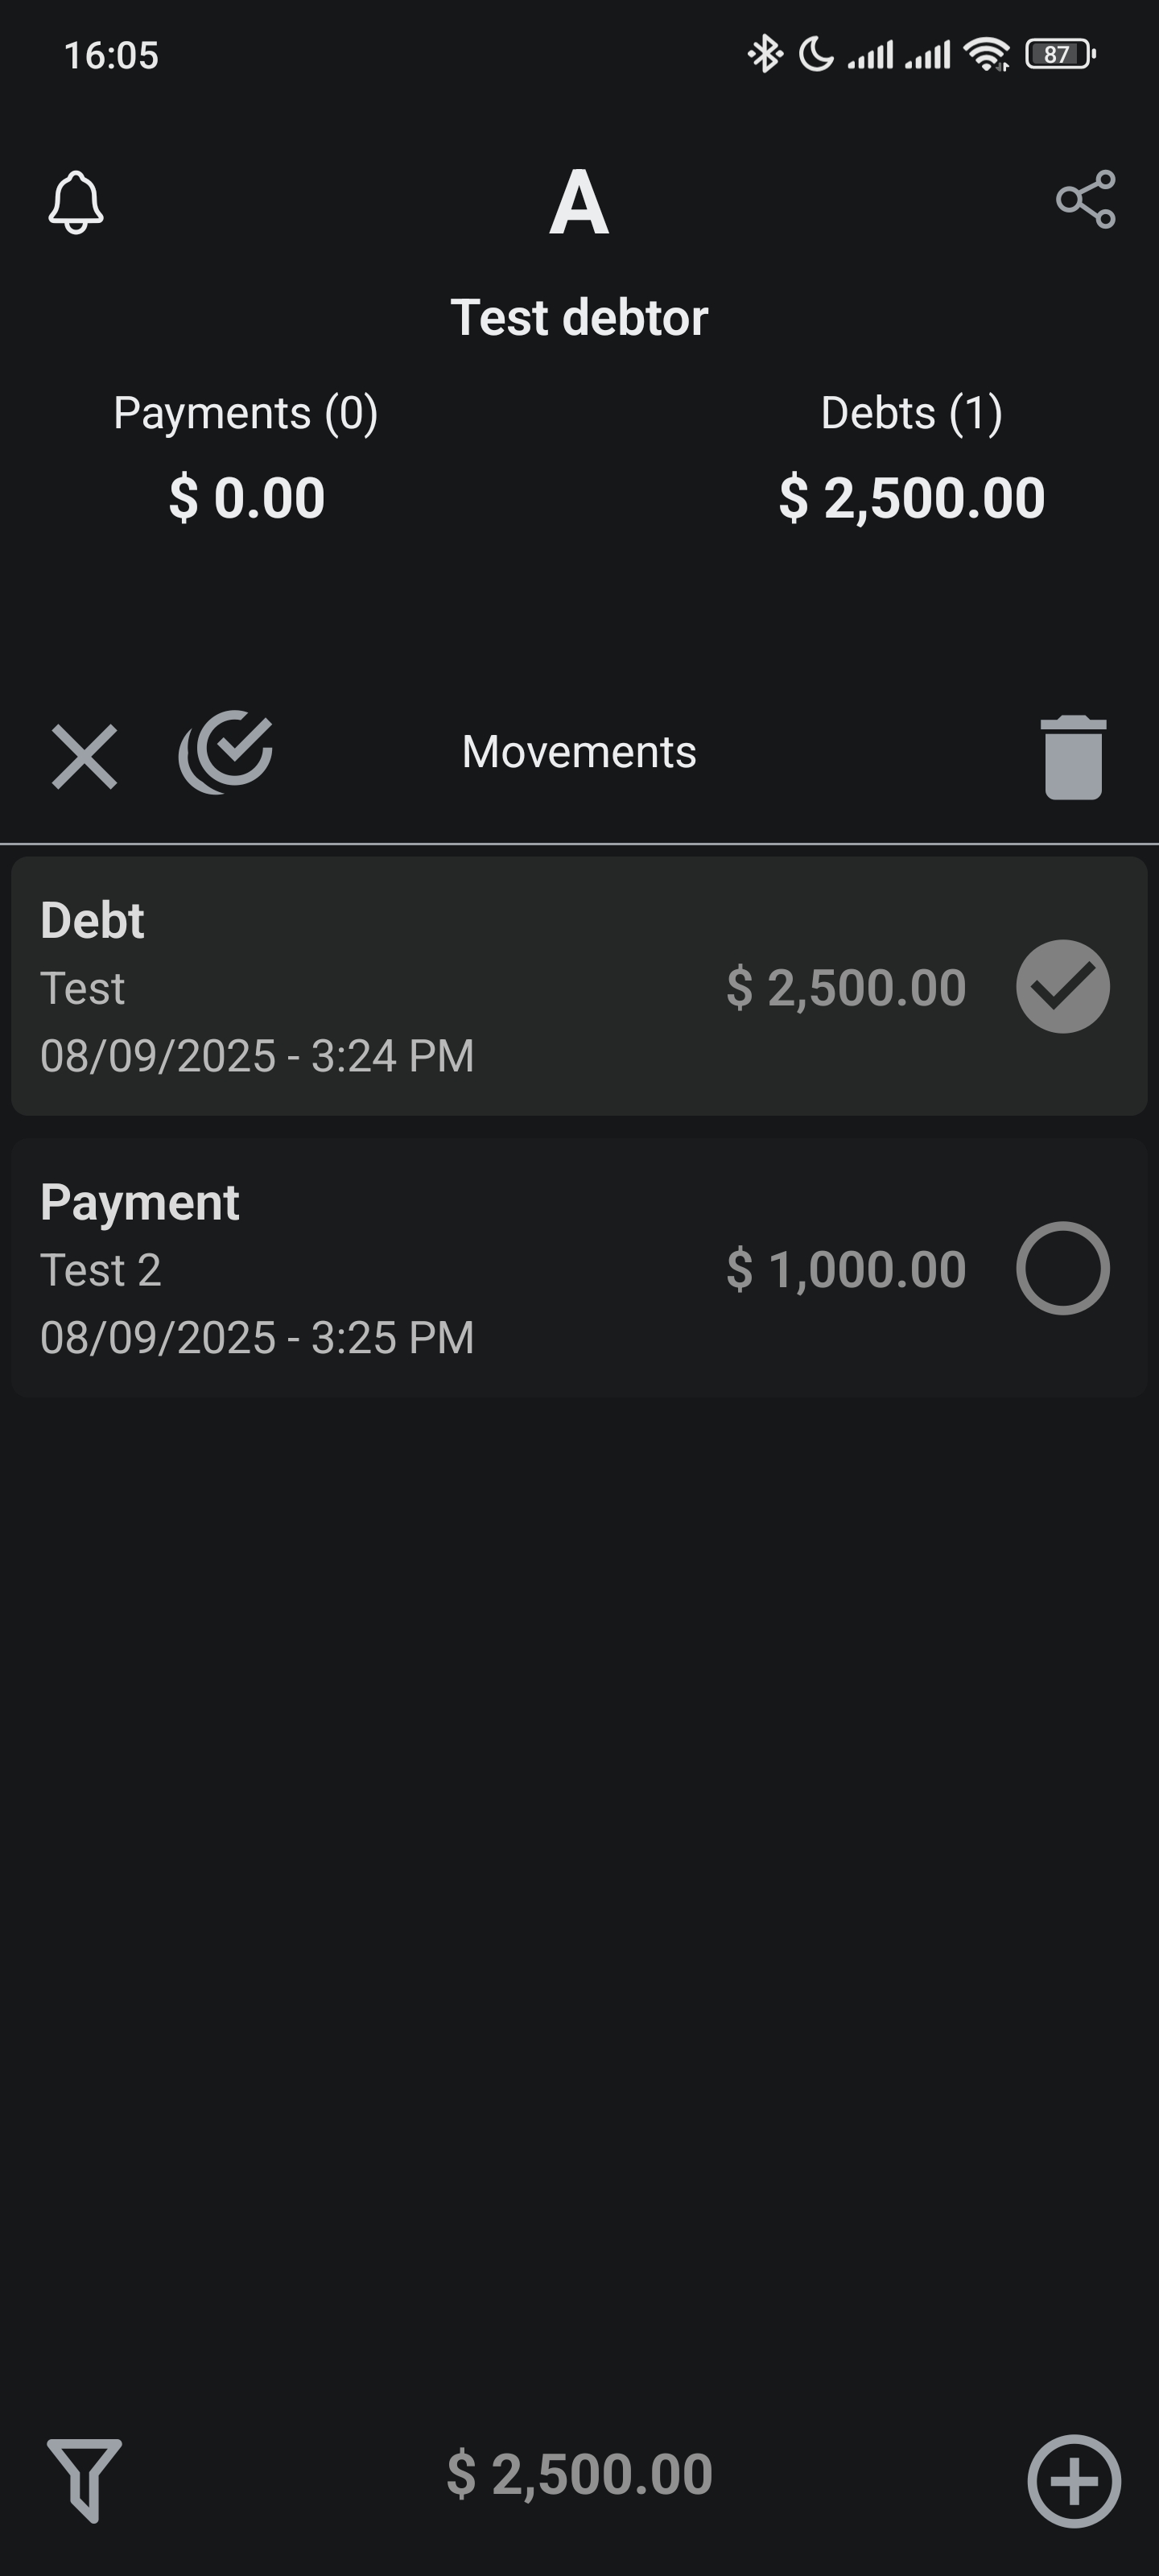
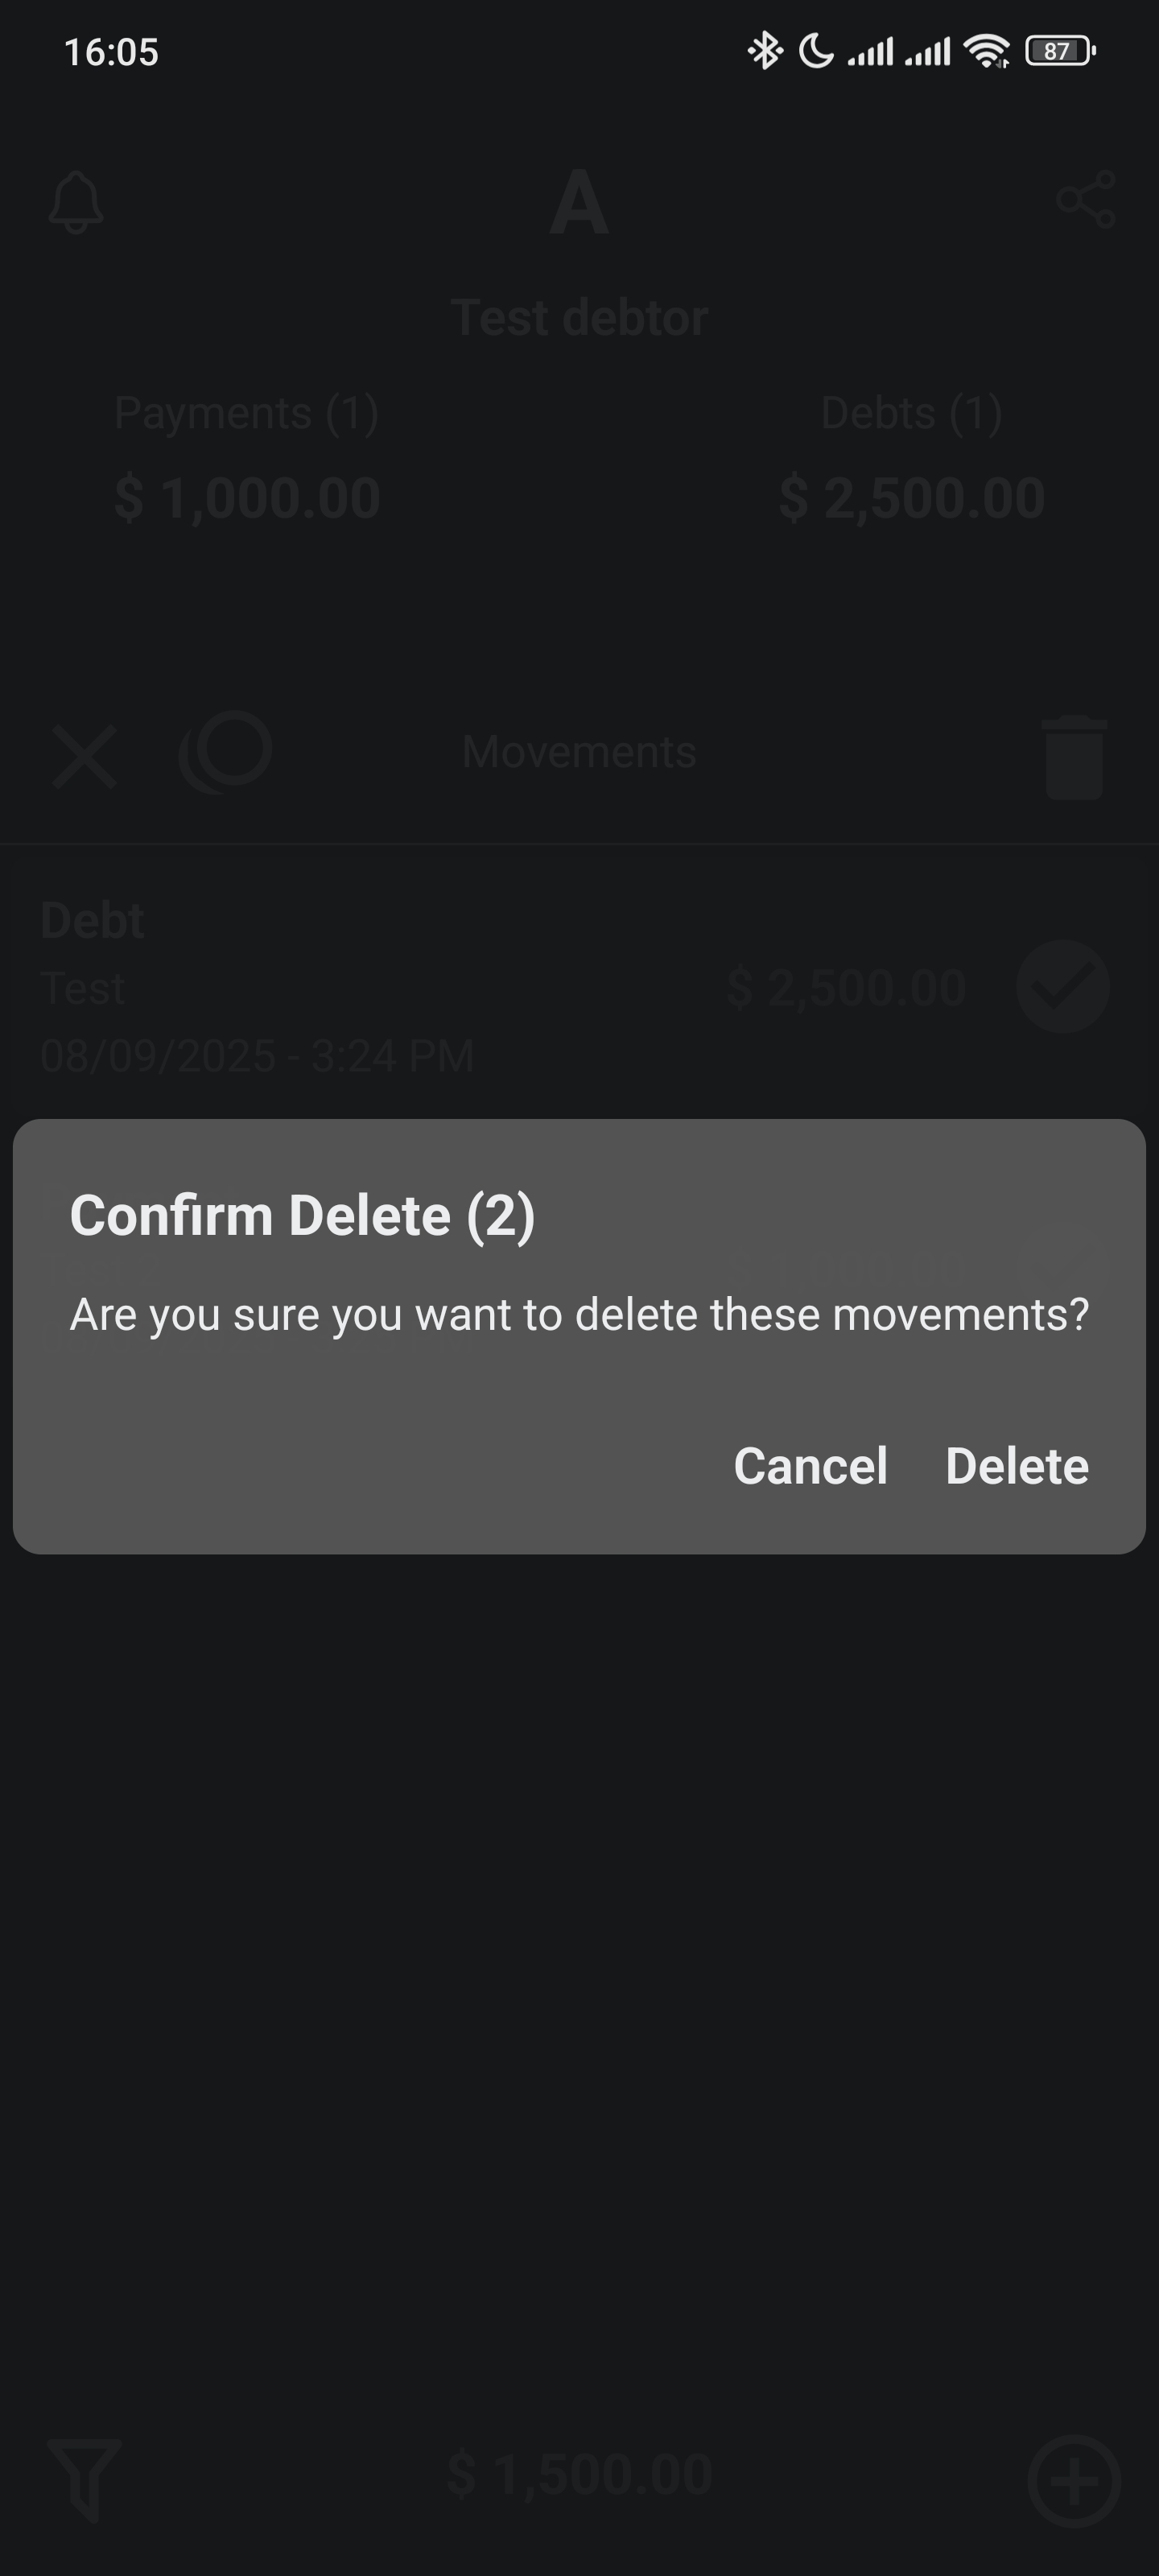
Multi Selection
You can select multiple movements by long-pressing on a movement entry:
This is like we saw in the Debtors section.
You can bulk delete selected movements by tapping the delete icon:
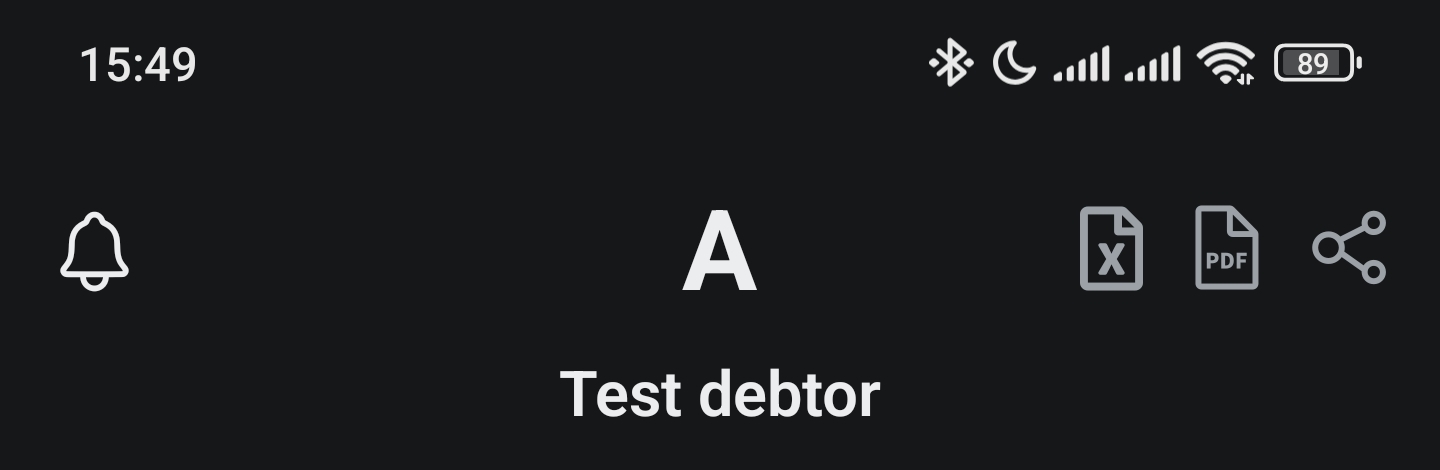
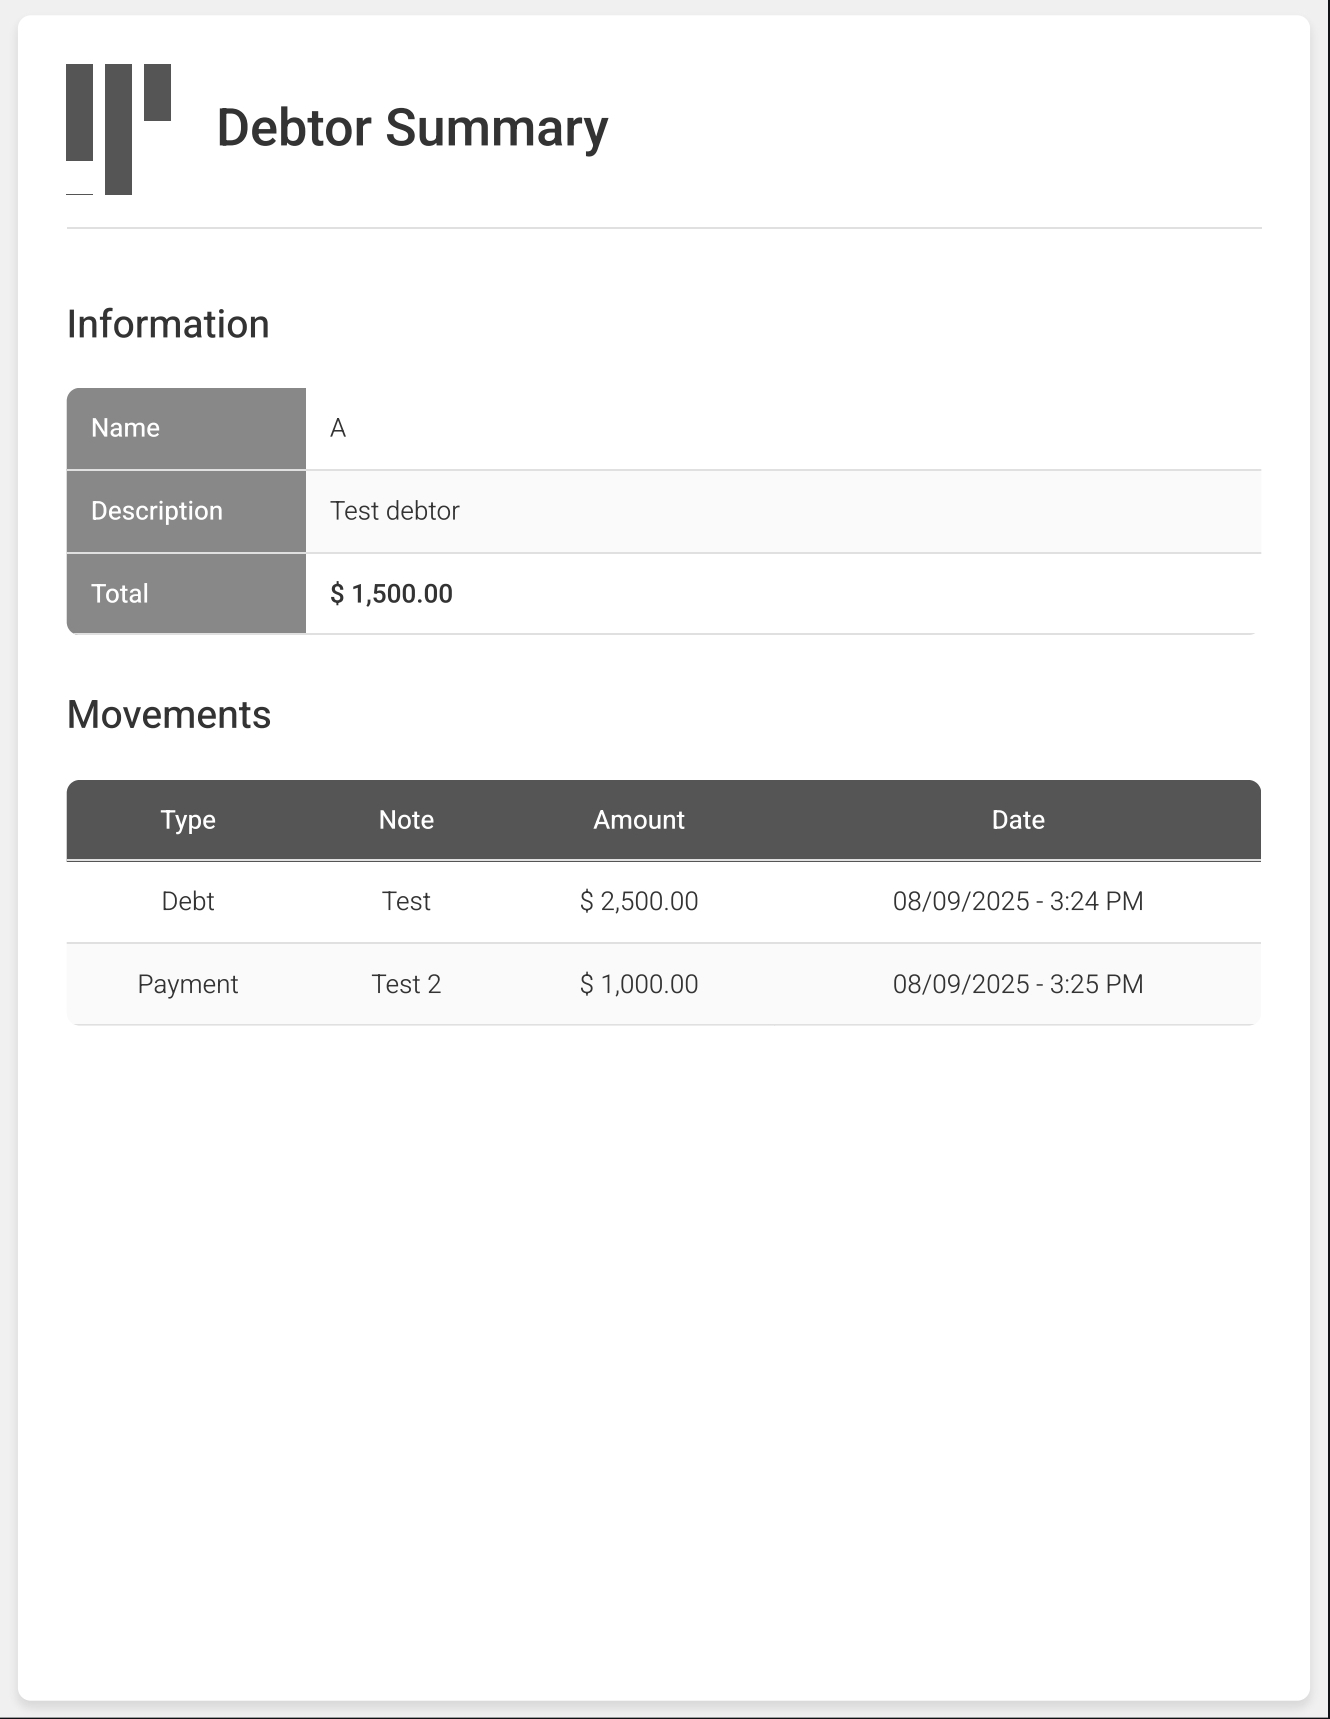
Generating Reports
To generate a report of movements, tap the share icon:
You can Tap the PDF icon to generate a PDF report of the movements:
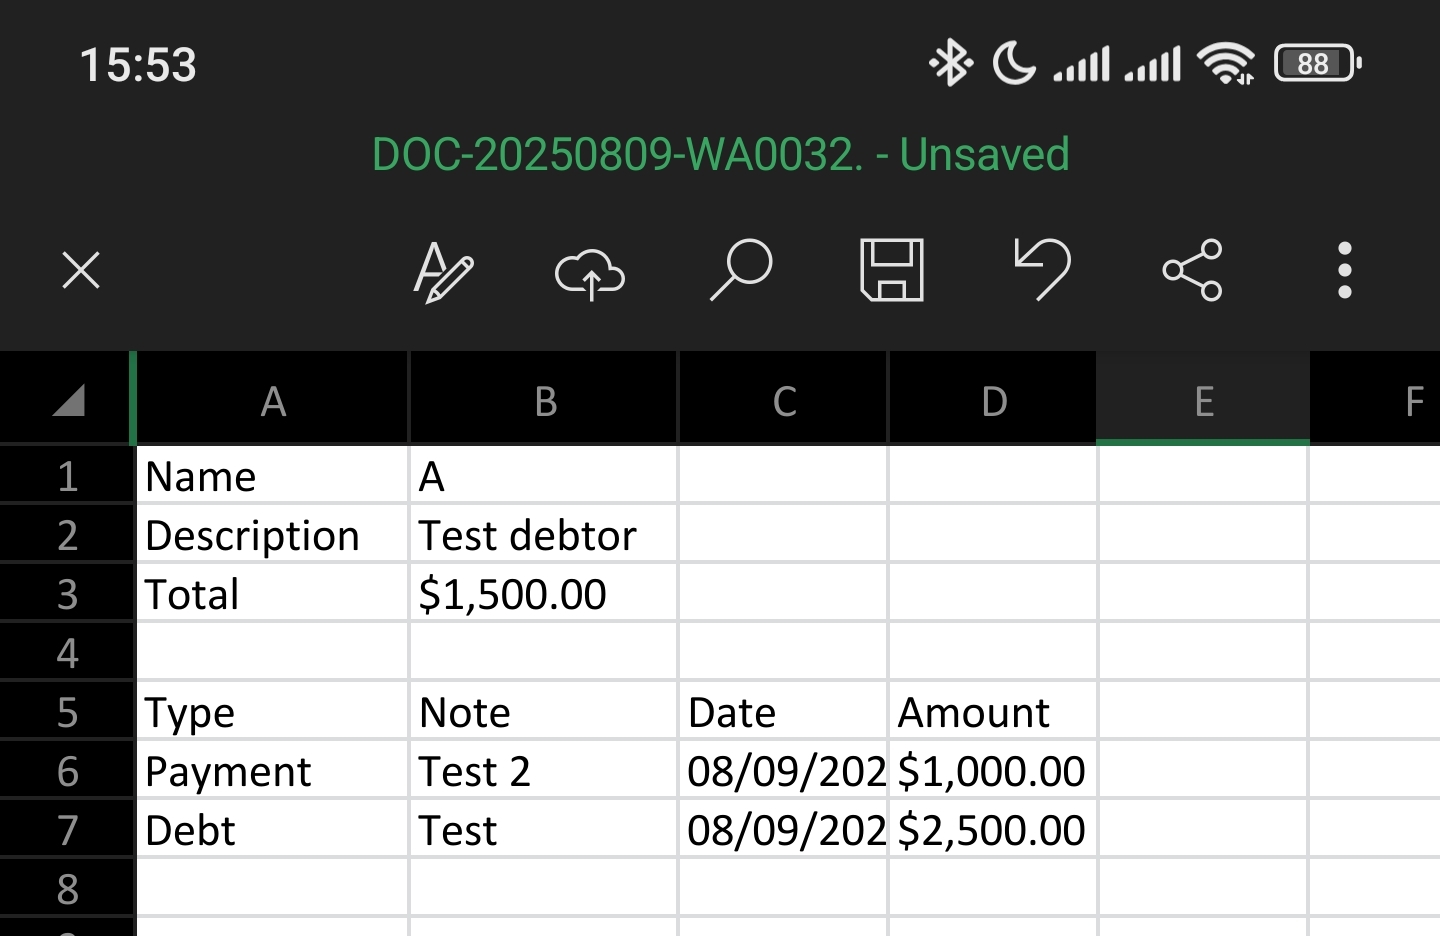
XLSX
You can Tap the XLSX icon to generate an Excel report of the movements:
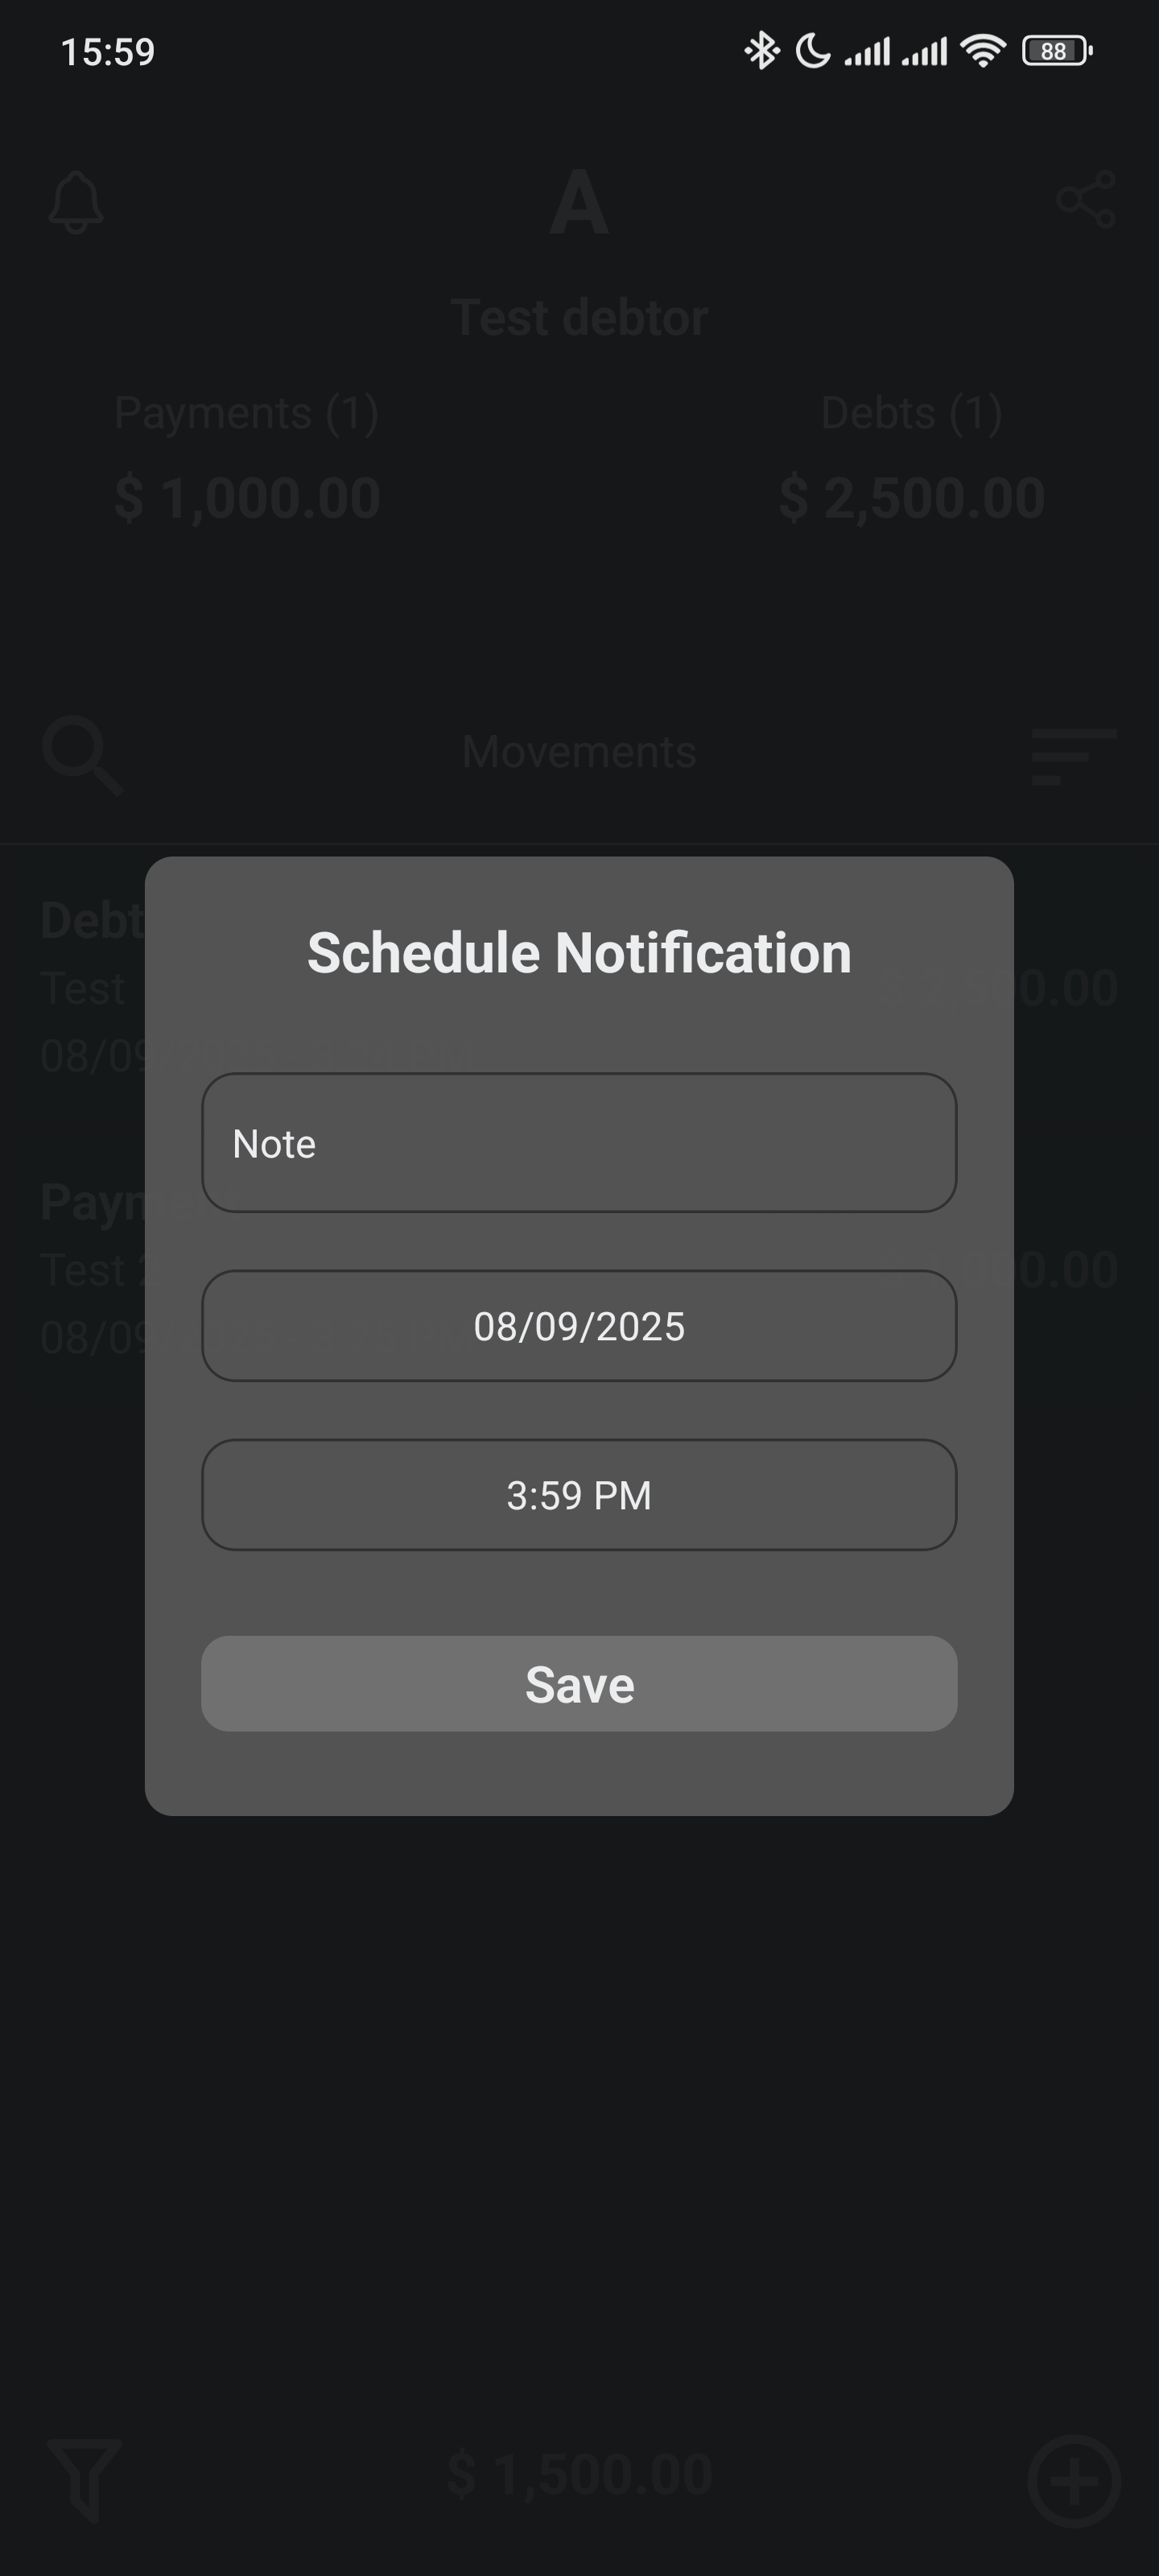
Scheduling Notifications
To schedule notifications for movements, tap the notifications icon:
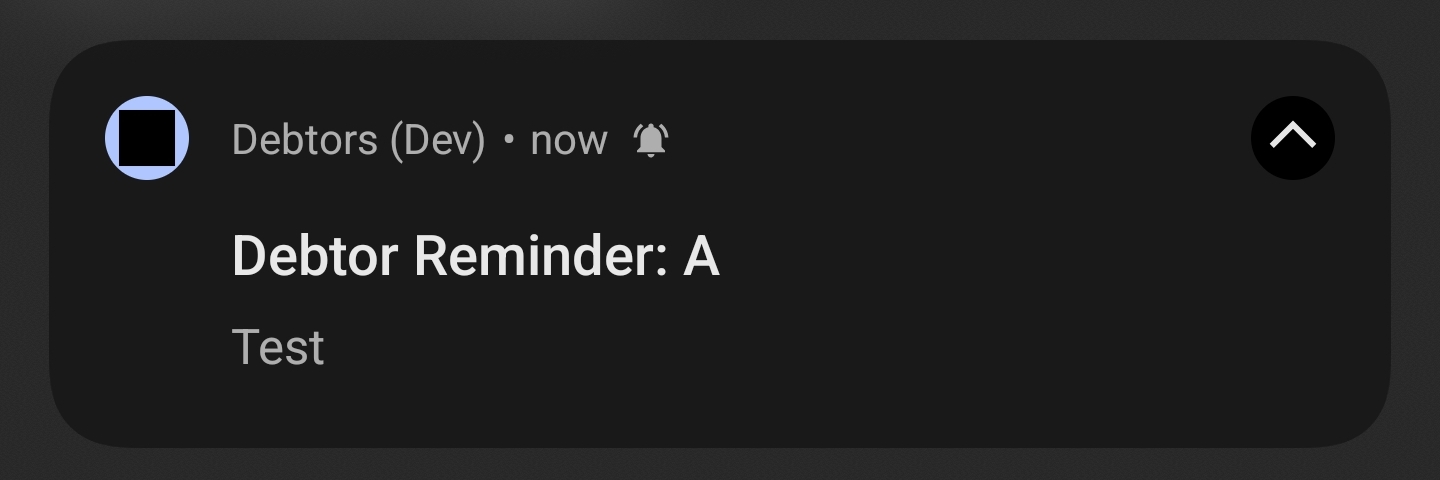
Once the notifications is scheduled, you will get a notification like this:
Continue to the next page to learn more about Settings